My 1st Blaster

I have a 310 main jet installed at the moment and will do a plug chop when Bike is running. Bike had a 290 main in it when I brought it with the FMF exhaust on it and air box lid off.
DSCN39783-01_zps2qzzlqfi.jpg
 
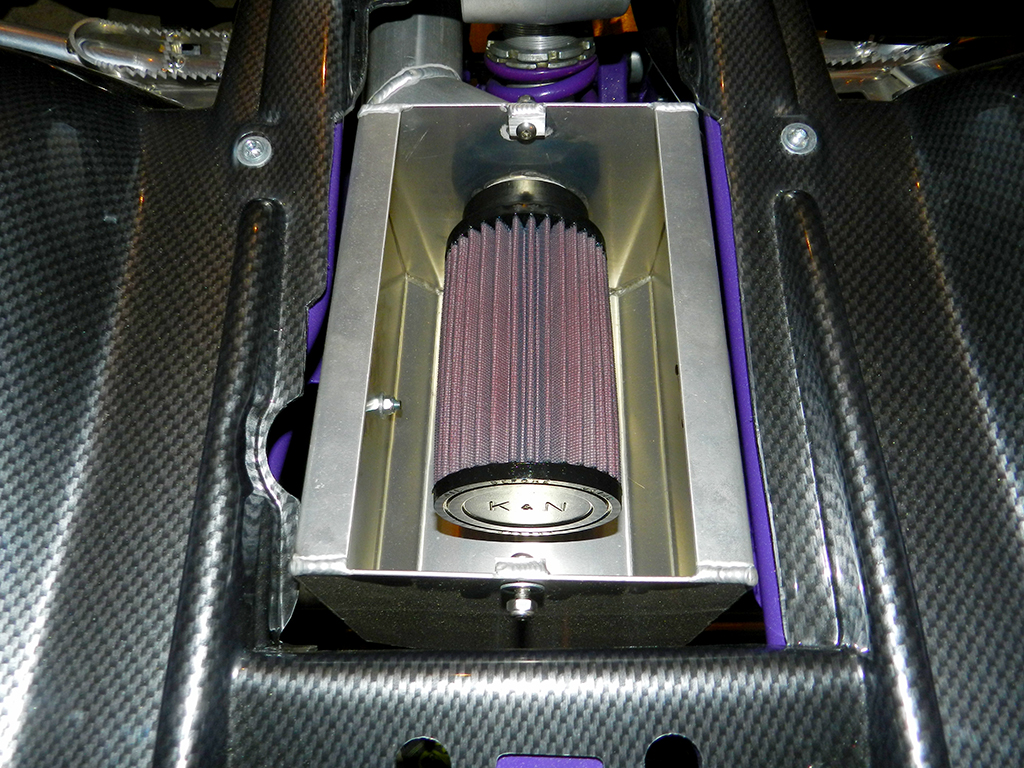
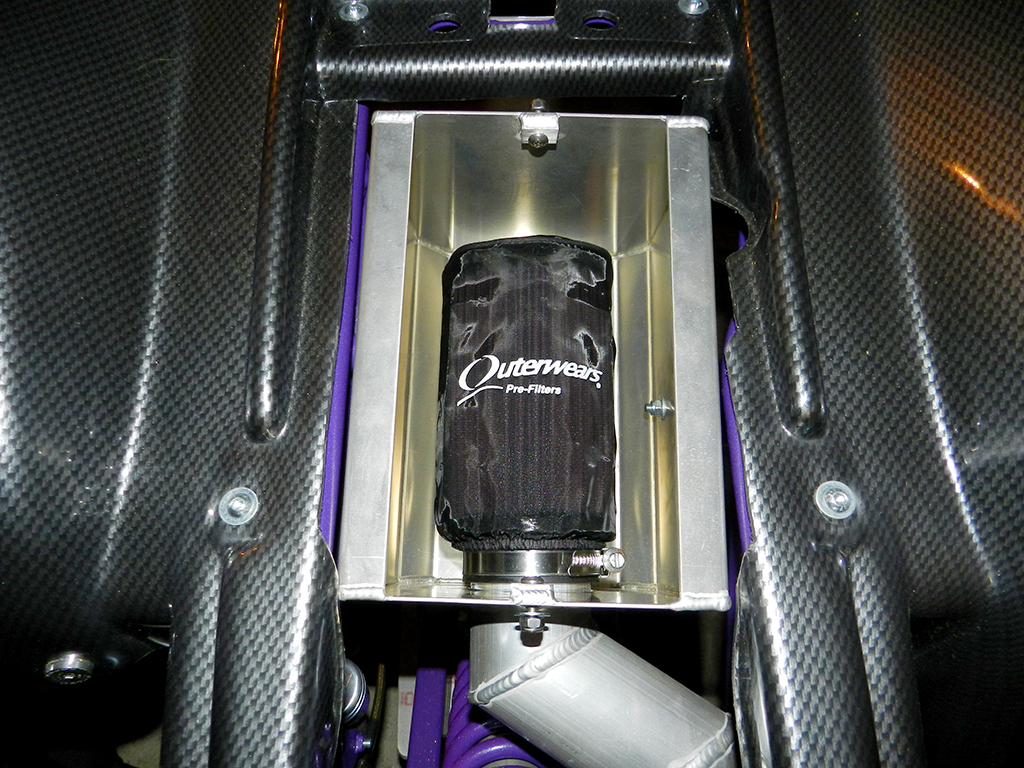
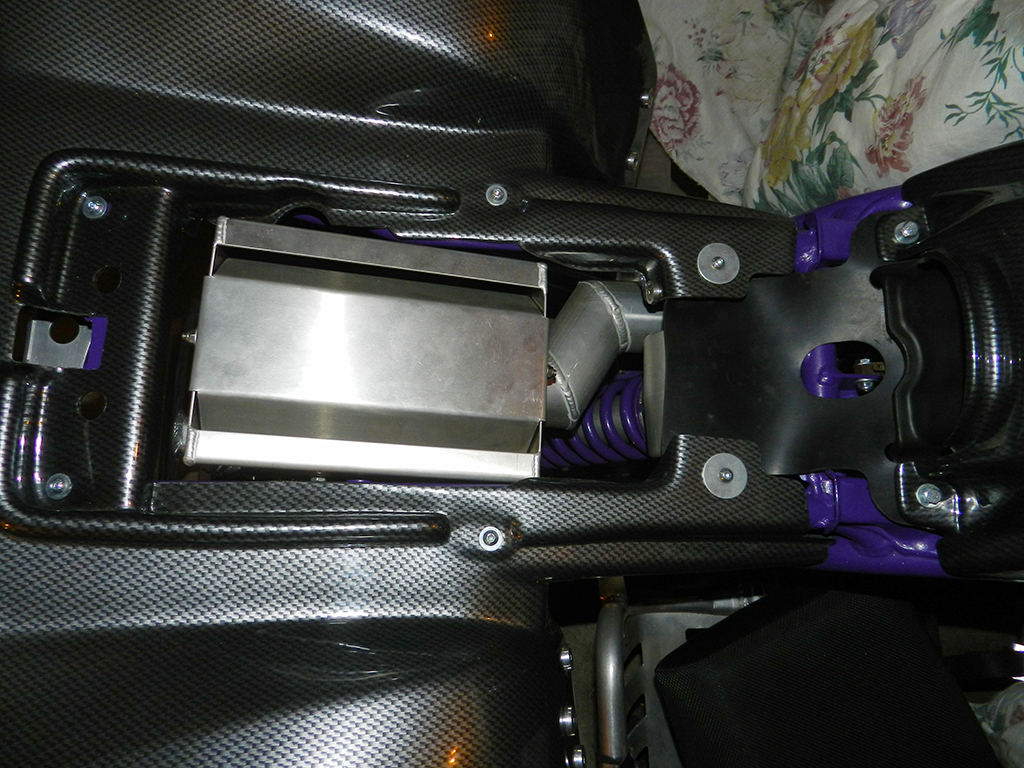
Air filter in but need to get a new hose clamp as the one K&N supplies is to small. Get hose clamp tomorrow and also install the Outerwear on the filter.
DSCN4894_zpso77aogsc.jpg


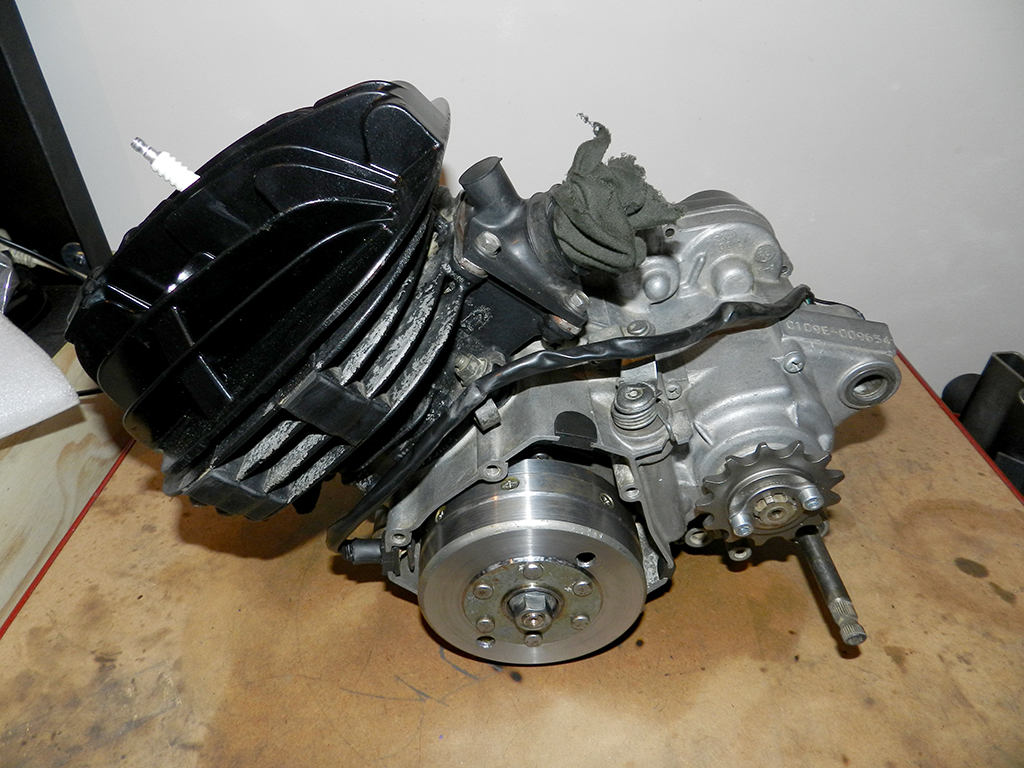
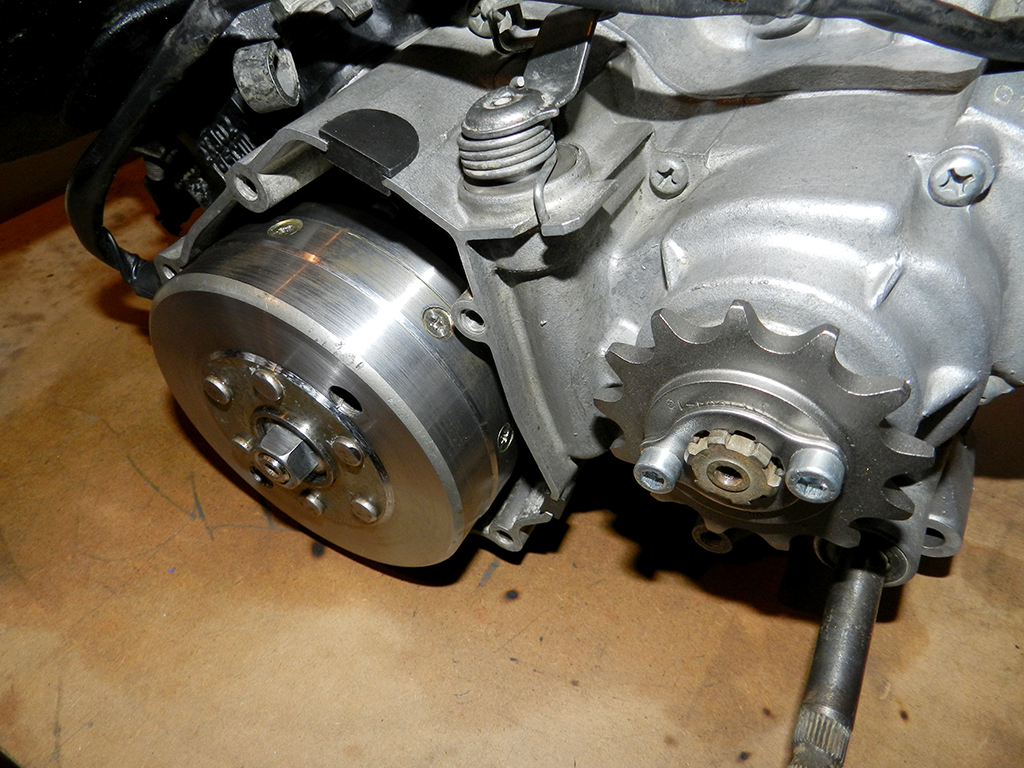
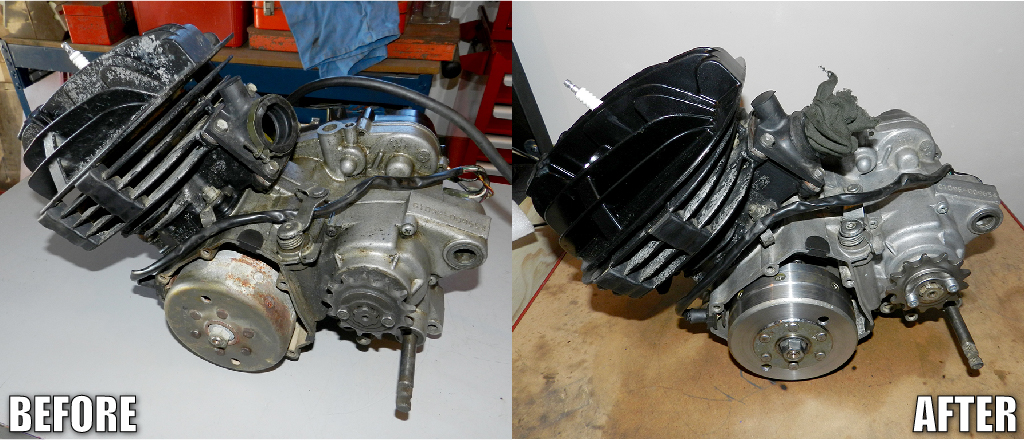
Cleaned the engine up today and installed the stator, flywheel and new 13 tooth sprocket.
DSCN4890_zps9clmbixp.jpg


DSCN4891_zpsm6eore0v.jpg


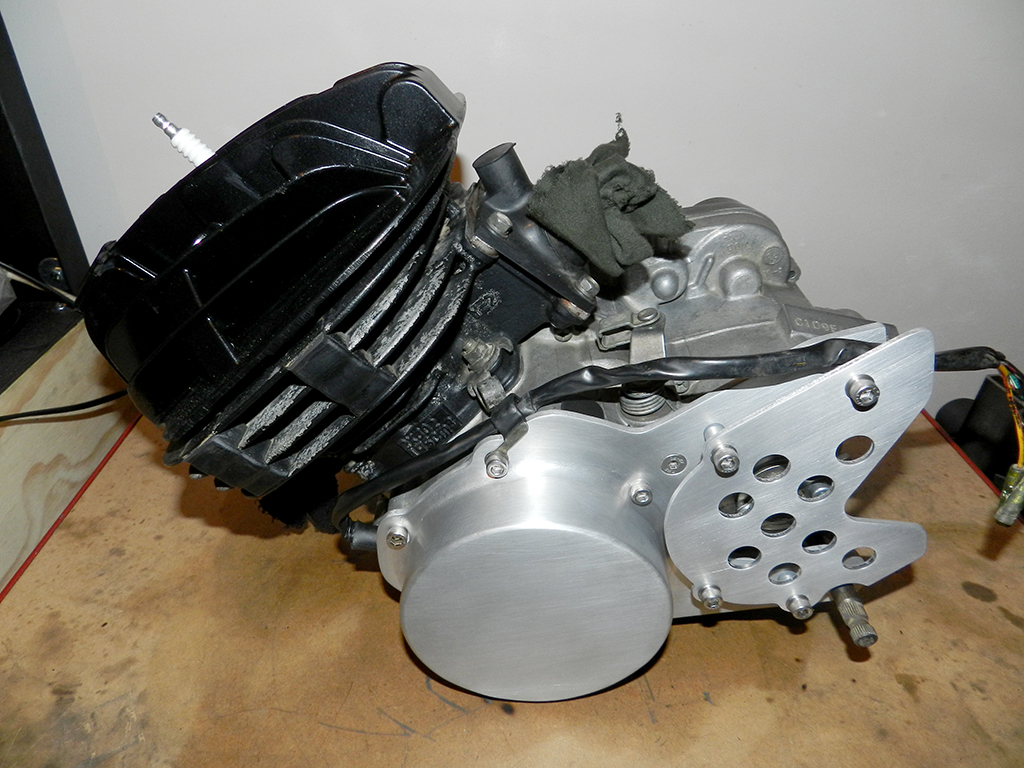
Stator cover installed after shortening one of the bolts. MMMMMM Aluminum. :D
DSCN4892_zpsuja9pget.jpg


Also installed the 2 rubber covers that are on the tank.

I will do more on it this week as I need to remove the clutch cover for painting and to drain trans oil.
 
  • Like
Reactions: Awk08
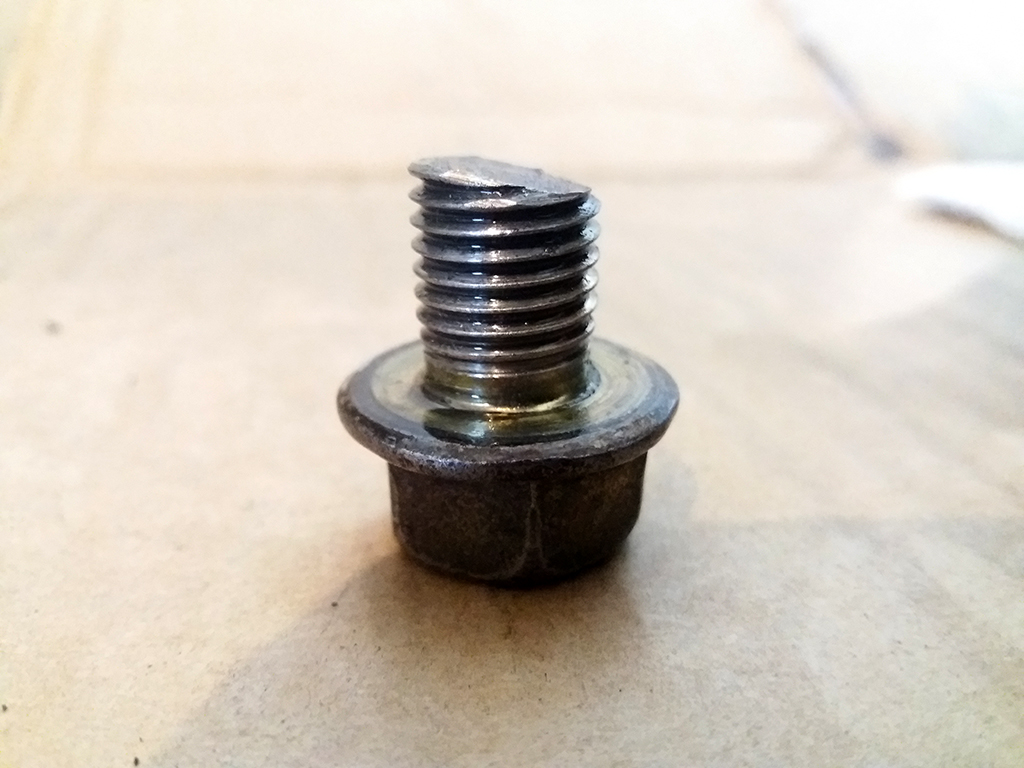
Removed the clutch cover last night a cleaned it up and today I have painted it black. Also painted the exhaust header with high temp paint and also painted the kick started black. Drained the old trans oil and found out that one of the last owners must have replaced the oil drain bolt at some stage as it was a longer bolt cut down and there cut was not straight.

Nice looking cut.
20170624_115306_zpseahs0vdm.jpg
 
Looks like I'm going to have to find a new image hosting site or post the photos on blaster forum. I'm not paying them photobucket sh*ts my blaster money.
 
Spent today in the shed work on the bike.

DSCN4920.JPG


DSCN4921.JPG


DSCN4922.JPG


1st time is been outside in over a year. :eek:

DSCN4924.JPG


DSCN4925.JPG


DSCN4927.JPG


DSCN4926.JPG


Engine installed.
DSCN4930.JPG


DSCN4931.JPG


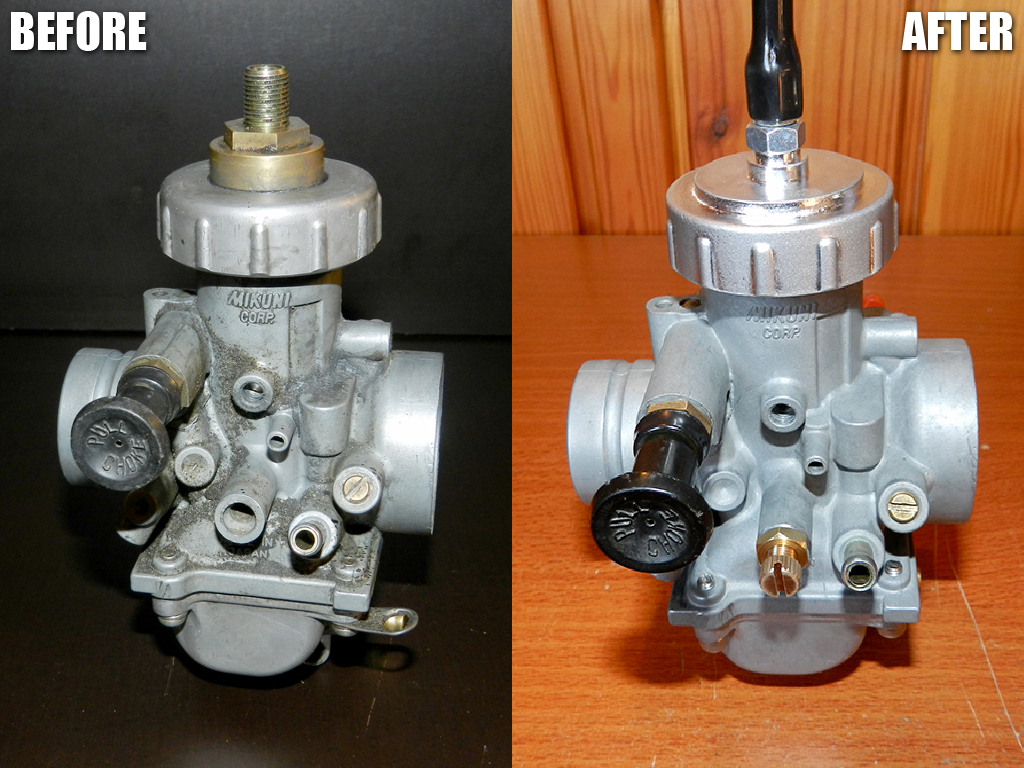
Carb installed.
DSCN4932.JPG


DSCN4933.JPG


DSCN4934.JPG


Was having a good day till my Dremel stop working. :mad: Was shaving down a part and it just stopped running. Good thing is its still under warranty.

Will get back in shed tomorrow night after work.
 
Last edited:
Finished the part that killed my Dremel. Mate let me borrow his Dremel.

Had to shave the mirror mount post so the throttle housing could go closer to the brake lever.
DSCN4941.JPG


DSCN4946.JPG


Much better.
DSCN4945.JPG


Looks like I will not be using the nice aluminum adjuster.
DSCN4947.JPG


I also need to work out how to adjust the angle of the thumb throttle as its way to far around.
 
Thing is looking great man! BUT COME ON FINISH IT!!!! lol!!! I really think you should polish the clutch cover where it says Yamaha and infill Yamaha in purple to match the frame!!!!!
 
  • Like
Reactions: Markblaster
i had a problem with one of those aftermarket thumb throttles as well
i had to cut the actual throttle lever in order to use it?
i bought it like that no clue how person before was riding it like that
it was a cascade throttle assembly.

this was the 1 i'm talking about the lever was soooo long now matter where i placed it on bars i could not use it
although it was fitted with different bars:eek:

mb c.JPG
 
Last edited:
Thing is looking great man! BUT COME ON FINISH IT!!!! lol!!! I really think you should polish the clutch cover where it says Yamaha and infill Yamaha in purple to match the frame!!!!!

Dude its winter here. lol Cold as in the shed after getting home from work. lol. Will be in the shed on the weekend. :)
 
i had a problem with one of those aftermarket thumb throttles as well
i had to cut the actual throttle lever in order to use it?
i bought it like that no clue how person before was riding it like that
it was a cascade throttle assembly.

this was the 1 i'm talking about the lever was soooo long now matter where i placed it on bars i could not use it
although it was fitted with different bars:eek:

View attachment 30818


There must be a way to adjust the angle of the lever? Might have to take it apart on weekend.
 
Got some more done on it today.

Got the exhaust on.
DSCN4949.jpg


DSCN4950.jpg


Nice exhaust clamp. :)
DSCN4948.jpg


Butt plug.
DSCN4962.jpg


Air scoop is the line. :)
DSCN4959.jpg


Got the handle bars all sorted out. Engine breather hose, Throttle cable, clutch cable and brake lines all install. Wire harness 95% installed.
DSCN4961.jpg


Had to drill a hole in the nice powder coat. :eek: For the earth cable.
DSCN4960.jpg


Wires from the stator. Yellow/Red wire not needed as its for the lights.
DSCN4963.jpg


Had to install a nut on the set screw for the throttle stop.
20170708_114053.jpg


I also got a fuel fuel line made. Do some more on it tomorrow.
 
Last edited:
Got more on it today.

Wires finished and installed a plug for the kill button and tether. Also check and I have lots of spark. :)
DSCN4968.jpg


Fuel tank installed.
DSCN4969.jpg


DSCN4970.jpg


Lunch time.
DSCN4972.jpg


DSCN4971.jpg


Front fender installed.
DSCN4974.jpg


DSCN4975.jpg


DSCN4976.jpg


Still need to shorten and install chain, Adjust A-arms, Bleed brakes, get fuel,
 
  • Like
Reactions: speedyslyder