The tranfers were gasket matched to a "Factory OEM" base gasket. Its pretty wild how the amount of excess aluminum varies cylinder to cylinder. Sometimes the transfers look relatively decent to start with,and other times your wondering if it was cast on a monday or friday. Ken Oconnor called it "Snot" in his porting videos. This describes it PERFECTLY! SNOT!
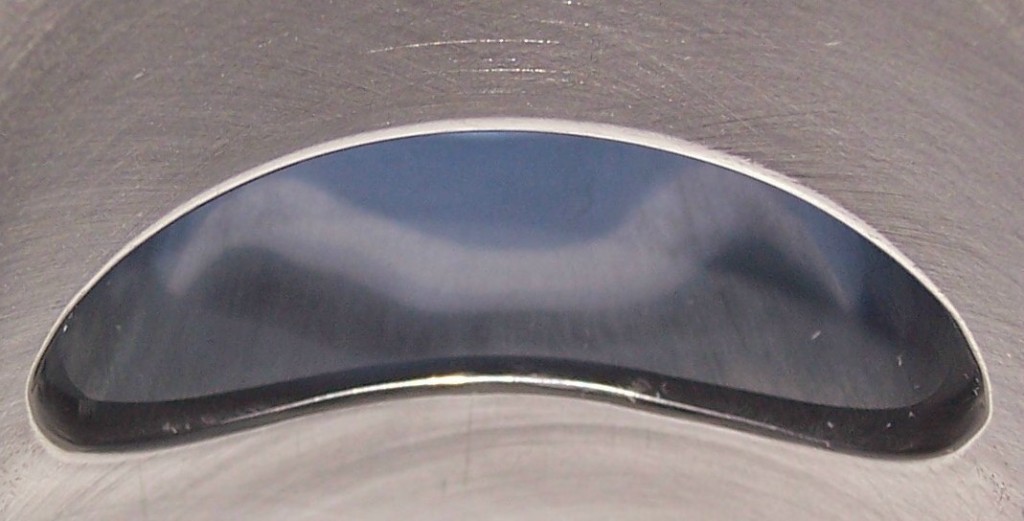
Stock transfer ports... These aren't terrible to start with. I've seen much worse.
Dykem'ed and scribing the lines... I use a "Fatory OEM" base gasket when scribing these lines. The factory gaskets can't be beat for consistency. Purchase 100 of these things,and they're exactly the same regardless when they were made. After you finish with the cylinder,use the same gasket,and scribe lines on your engine case. Then "Blend and match" the case to the scribed lines you made. This matches the cylinder transfer ports to the engine case and eliminates any mis-match,or stair step between the two,which robs power. In your head think "speed bump". By the way..."port matching" the case can be done whith the engine assembled. Its just much more involved. If your lazy about cleanliness forget it.
Here you can see the difference... It doesn't look like much in the picture,but when its in front of you its much more apparent.
This is after the initial cutting but with some blending. When you start getting close to the edge of the actual cylinder bore ...slow down. I prefer to leave a very small margine (about 1/32 of an inch). Don't knife edge it.
Here is another of the exhaust port. The finish is smooth to help prevent the build up of combustion bi-products (carbon). This is really noticeable when you use quality 2 stroke oils. Does it improve exhaust flow? It can't hurt,but I believe the biggest benefit is reduced carbon build up. Also,when ever you remove the cylinder for routine inspections,you'll be happy that you are using quality oil,because all the parts look like they were just cleaned.
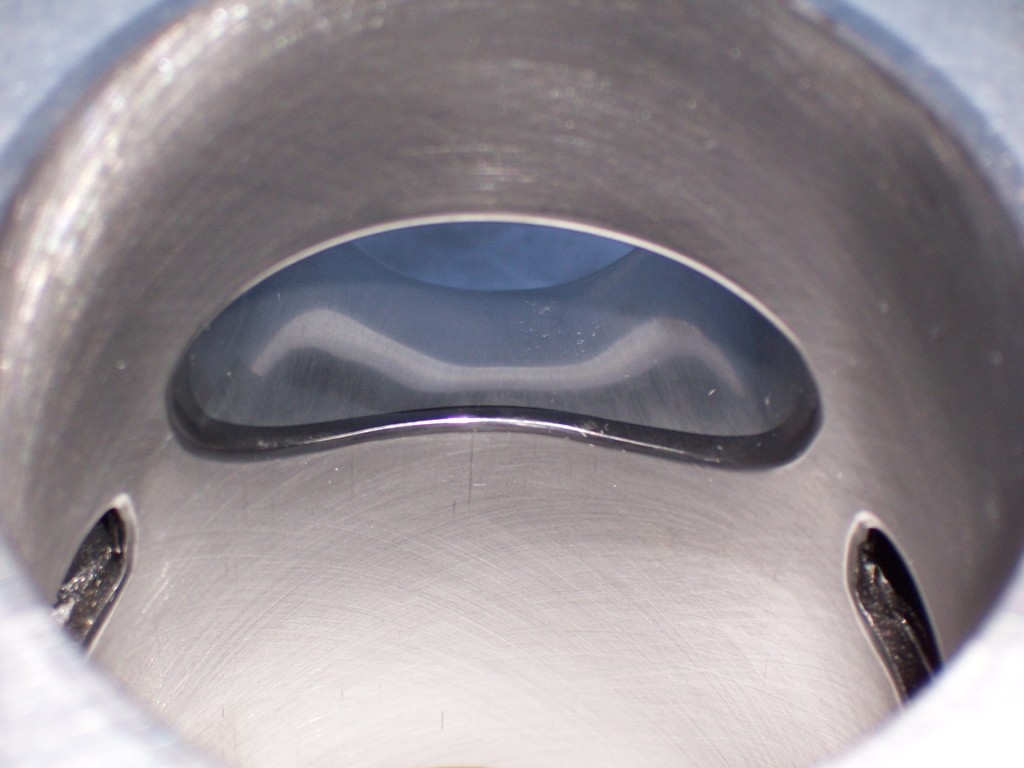
Here is a slightly different angle of the reed box. I'm trying to show the lapped sealing surface where the reed gasket seals. When you take off your cylinder,its a good idea to lap the head sealing surface,exhaust sealing surface,and the reed box sealing surface. I see a lot of you guys using RTV silicone sealant on the reed gaskets,head gaskets,and exhaust gaskets. If you have to use that stuff to seal things up,then there is something wrong! you will want to check the flatness of these surfaces. You should NEVER need that stuff. A gasket is all thats required. No goop!
Here is how you keep things "Clean" when matching tranfer ports to an assembled engine. You have to be clean,clean,clean!
This cylinder with one of these re-designed heads is going to make a blaster do just that... BLAST (off)! Blasters become "Crazy Fun" when you more than double they're horsepower. The best part is that the reliability is still there!
Some of my future projects will include ... Building an yamaha "Auto Lube" oil injection model/jig/explanation thingy,how to cut boost ports in a piston (an old trinity racing thing), showing you how to make a boysen port drilling jig,and how to make some of your own porting tools. However,I have some other irons in the fire to take care of first. Stay tuned...


 I run the DMC Alien pipe,and is match very well to that pipe. Everybody keeps saying that the DMC Alien is a low end pipe. I don't see or feel that. To me it feels more like a mid pipe with lots of top end added. It also works awesome on a FMF Fatty. I'm very happy with this set up on my blaster,and can still run premium pump gas without detonation. I also run the oil injection with zero issues.
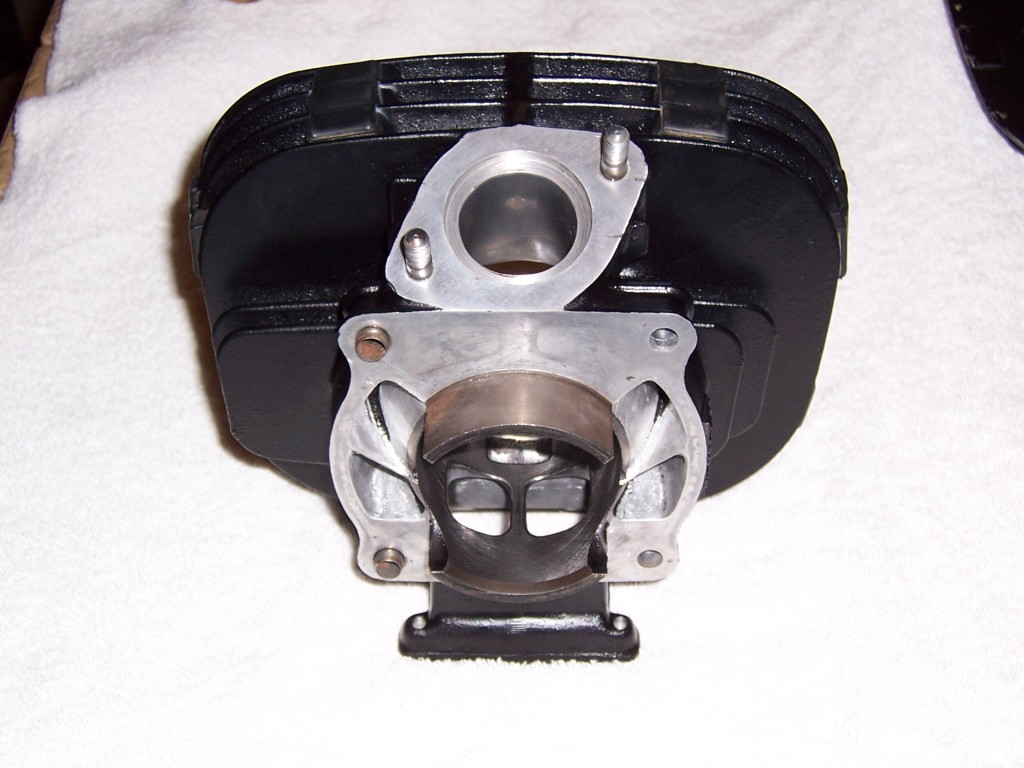


")