I did a short how-to on cleaning your carb. I hope this helps people that are uncomfortable with doing it themselves. It is really very simple. Once you do it you wont ever forget how. This stock carb is off of a 2002 blaster, but all of them are the same. I am going to assume that you know how to remove to carb from the quad. It is simply 2 screws, the fuel line, and unscrewing the top of the carb that which should be fairly obvious and simple.
I would like to say in advance that I am not responsible for anything that you mess up. Some people may have there own opinions on how to clean there carb but this is how I do mine. If you would like to add in more tips feel free.
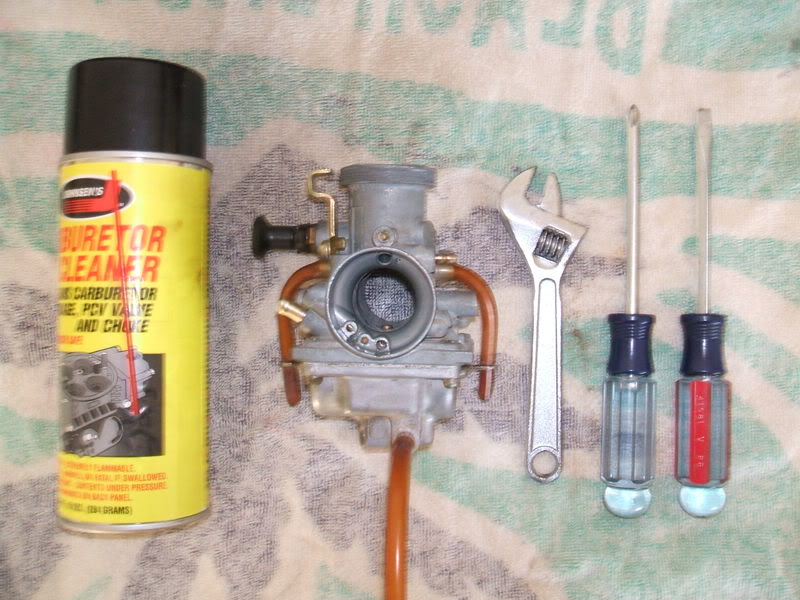
Here are the tools you will need
1. Carb cleaner
2. Clean rag
3. Medium sized philips and standard screwdrivers
4. Small or medium sized adjustable wrench
1.First Get your tools together.
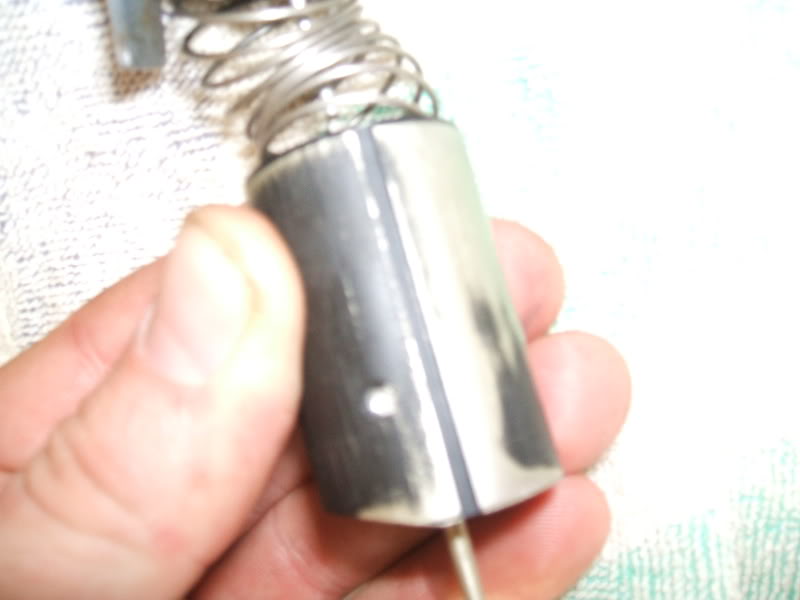
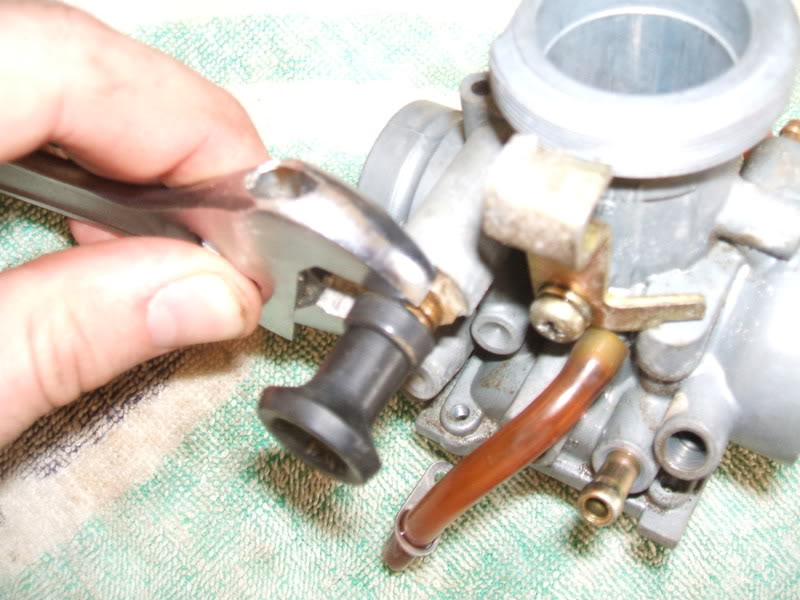
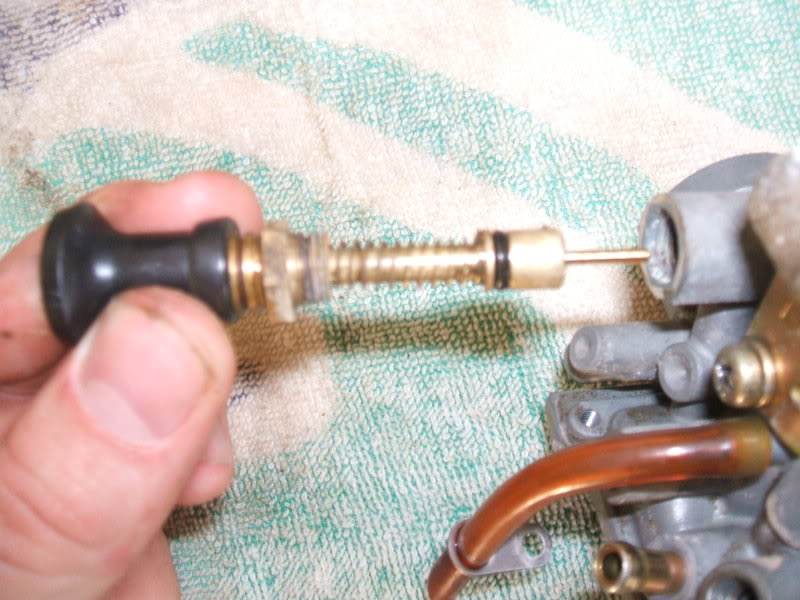
2.Remove the pilot jet (idle jet) and spray with carb cleaner. (remember how many turns it is out from being all the way in if you dont know how to adjust it.)
3.Heres what it looks like, There is a small spring that sits on the end of it. Dont lose it and make sure to reinstall it.
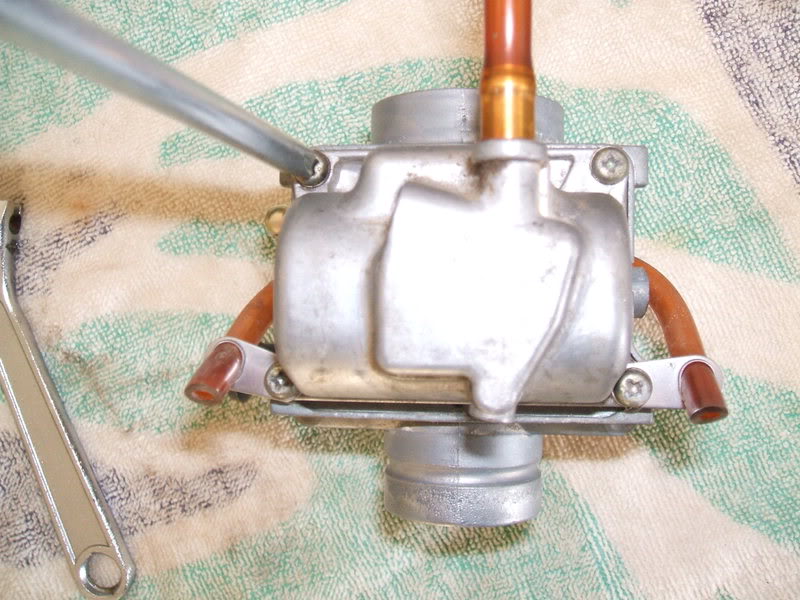
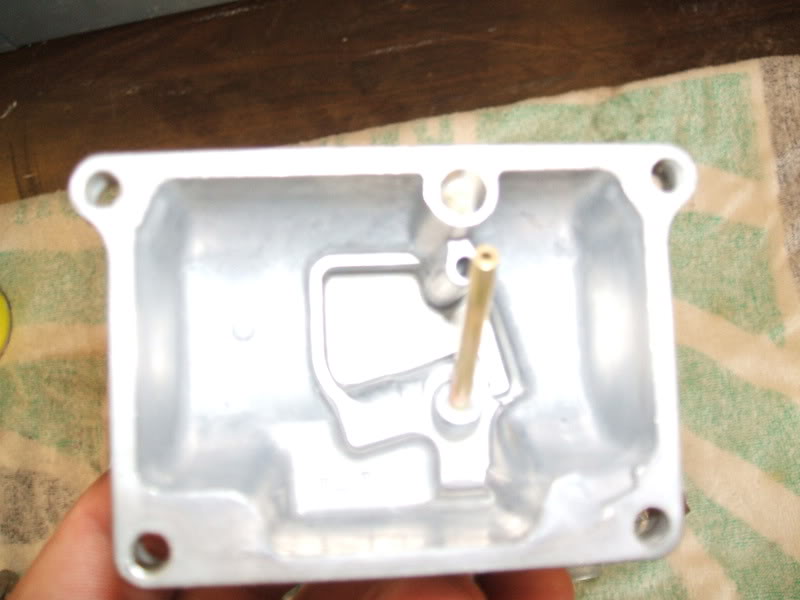
4.Remove the 4 screws on the bottom of the carb that hold on the float bowl (be careful these have been known to strip very easily)
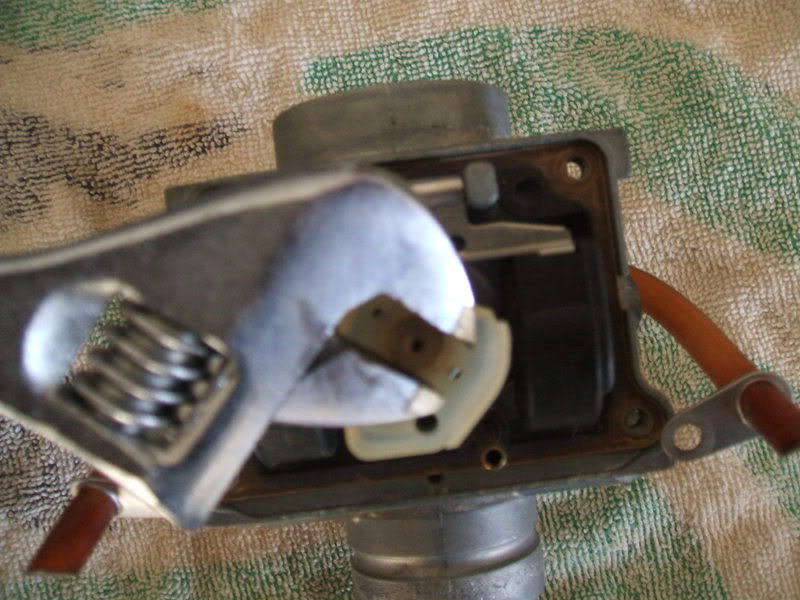
5.This is what you should see. The brass nut in the center is your main jet. (usually this will get gummed up or clogged, spray this whole area with carb cleaner but try to avoid the gasket)
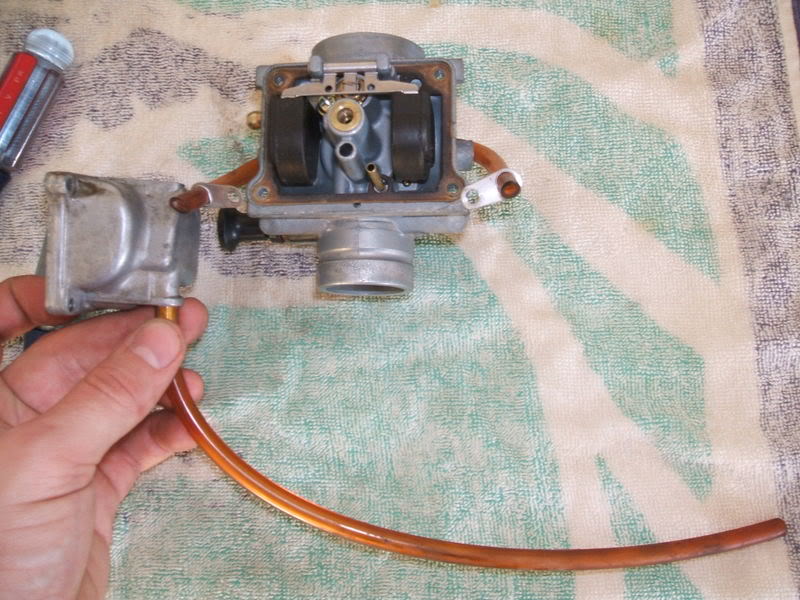
6.Remove the main jet and plastic shroud and spray them (the jets are usually brass so be careful)
7.Here is the main jet (has a number stamped on it which is the main jet size. The bigger the number the bigger the hole to allow more fuel flow)
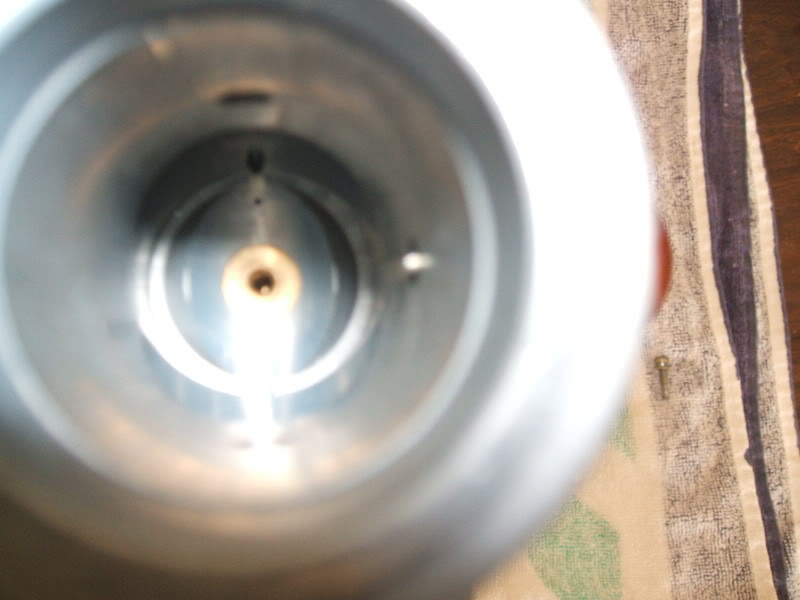
8.Here is the inside of the top of the carb. Make sure you spray out the inside of the needle jet real good as well as were the carb slide rubs.
9.Here is the slide, the notch in the slide needs to line up with the pin in the picture above for proper installation.
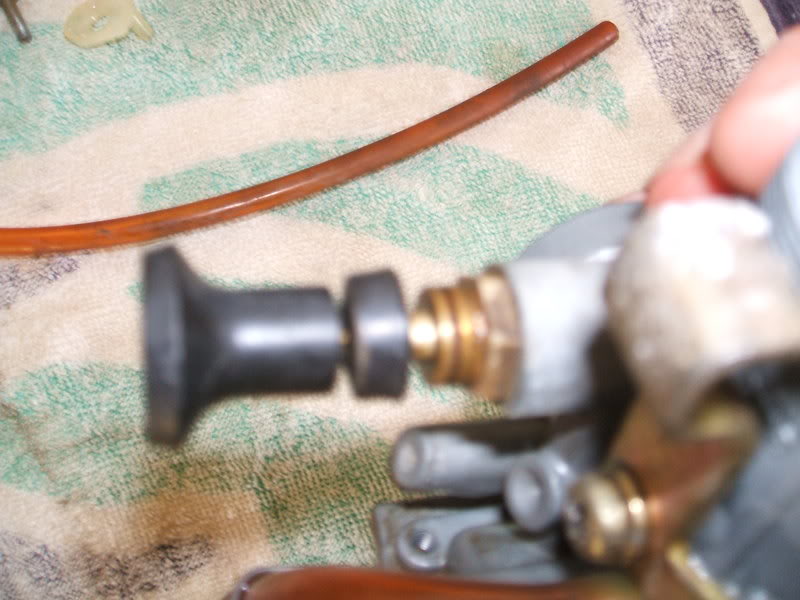
10.Spray out the overflow tube with carb cleaner