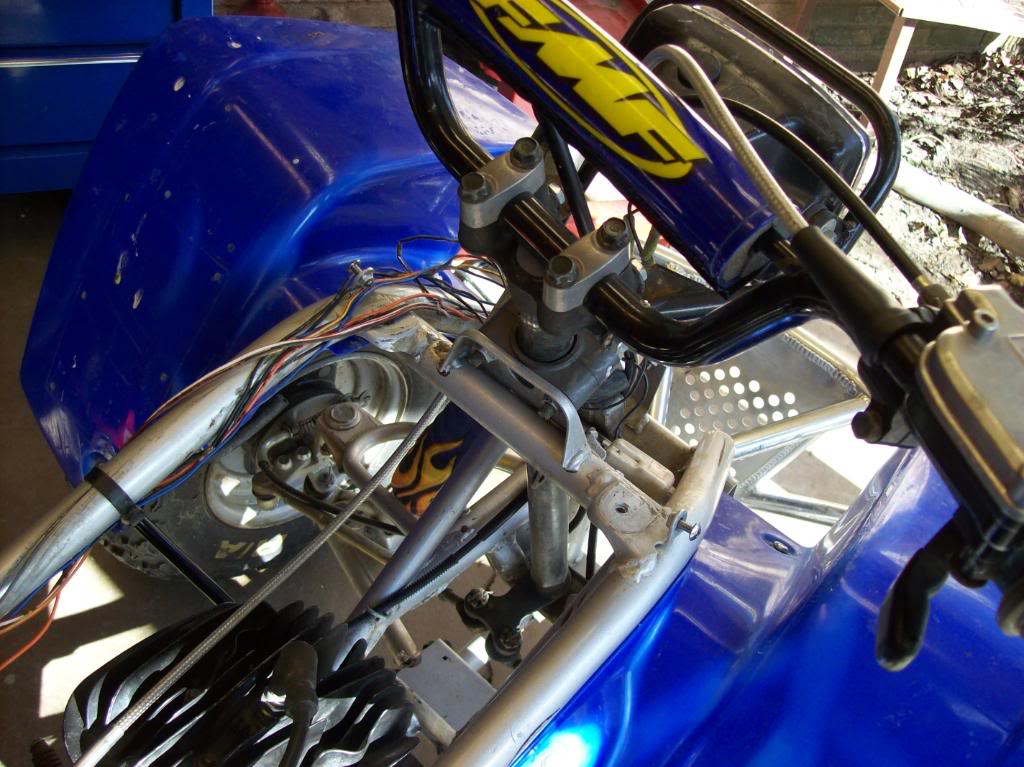
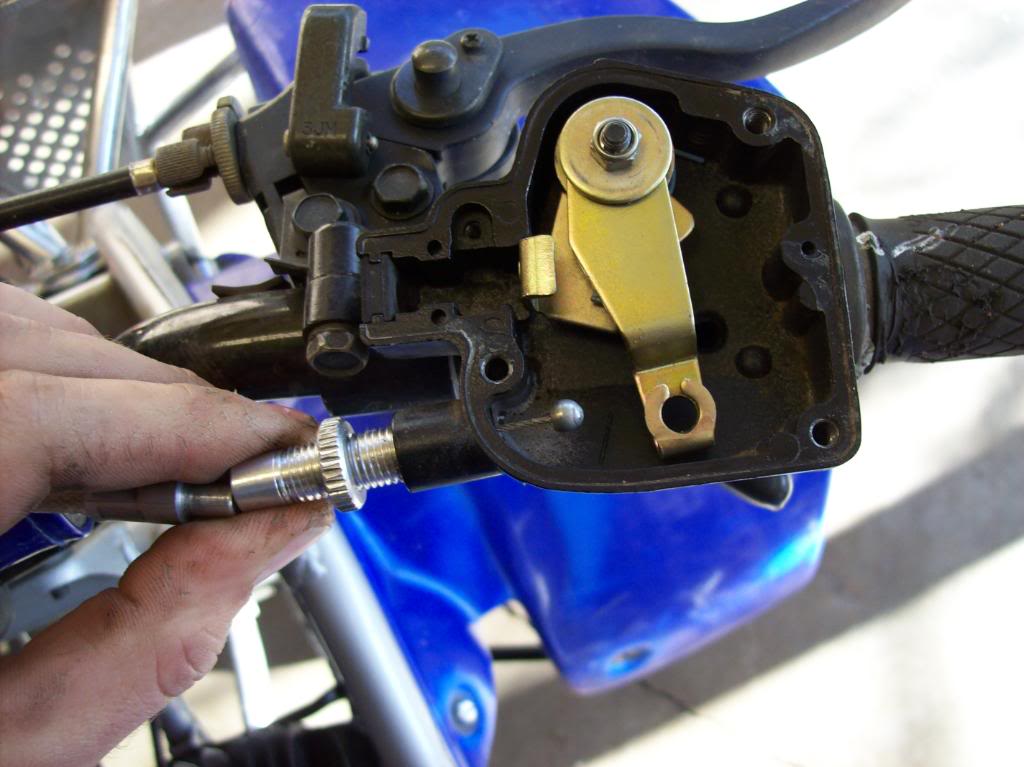
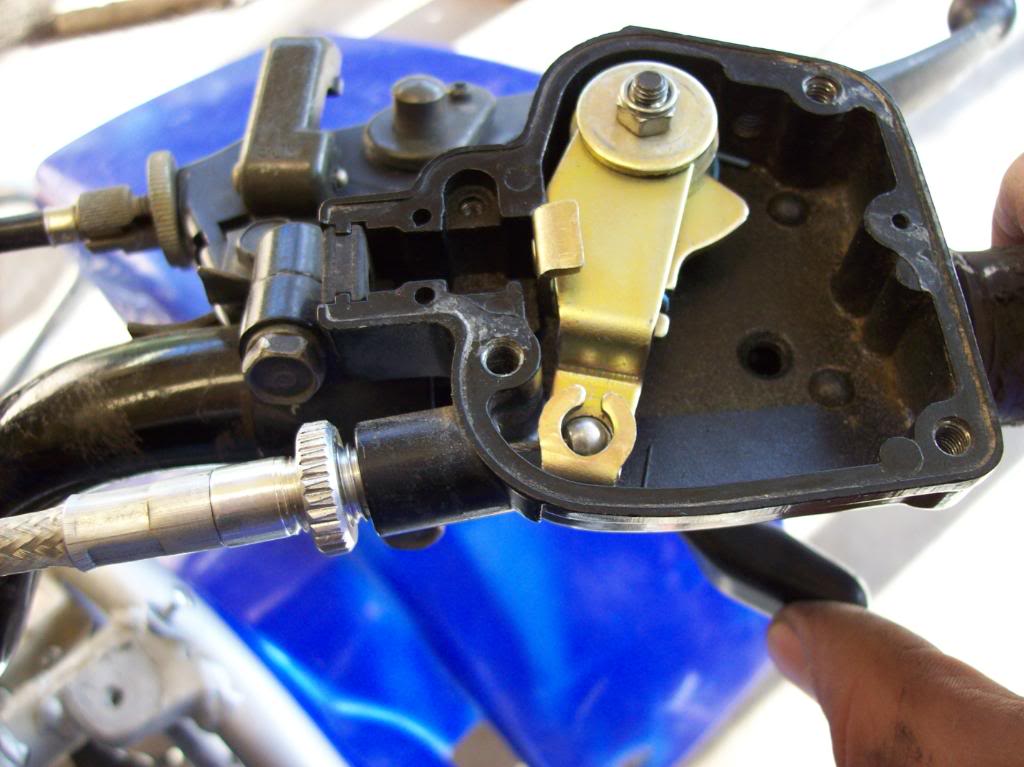
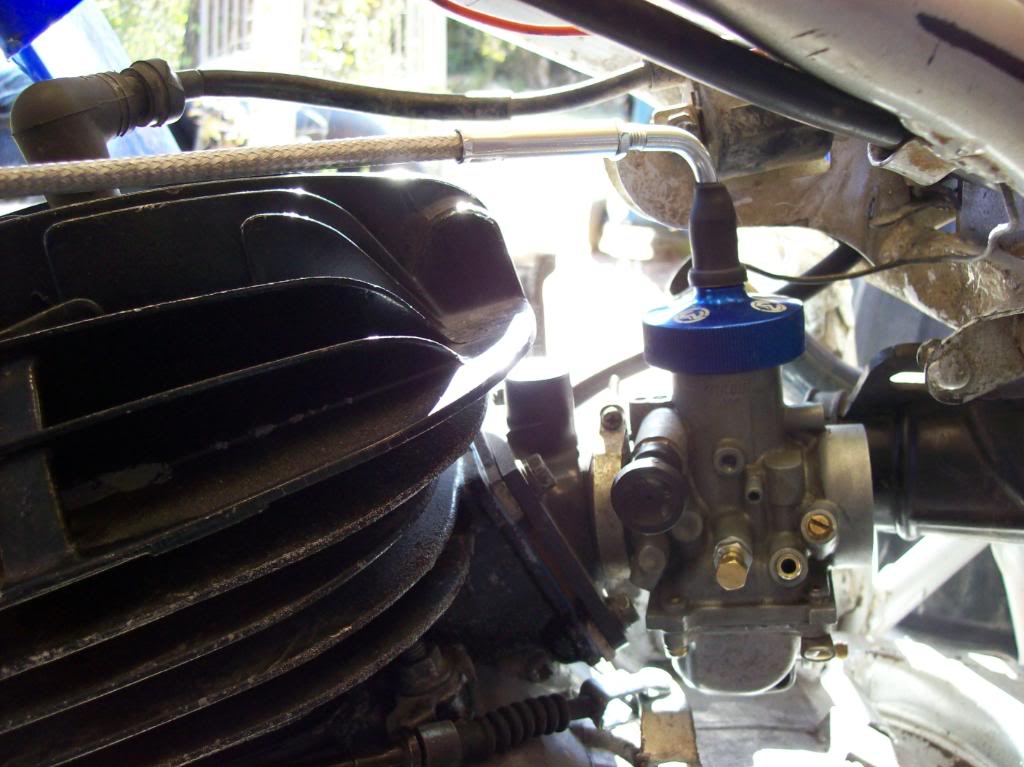
Well, I finally got a carburetor cap kit for my '02 Blaster. So, I thought I'd do a tutorial on how to install one of these carb. cap and idle screw kits. This kit is designed to replace the factory TORS brick sitting on top of the stock carburetor. Pardon any redundant info.
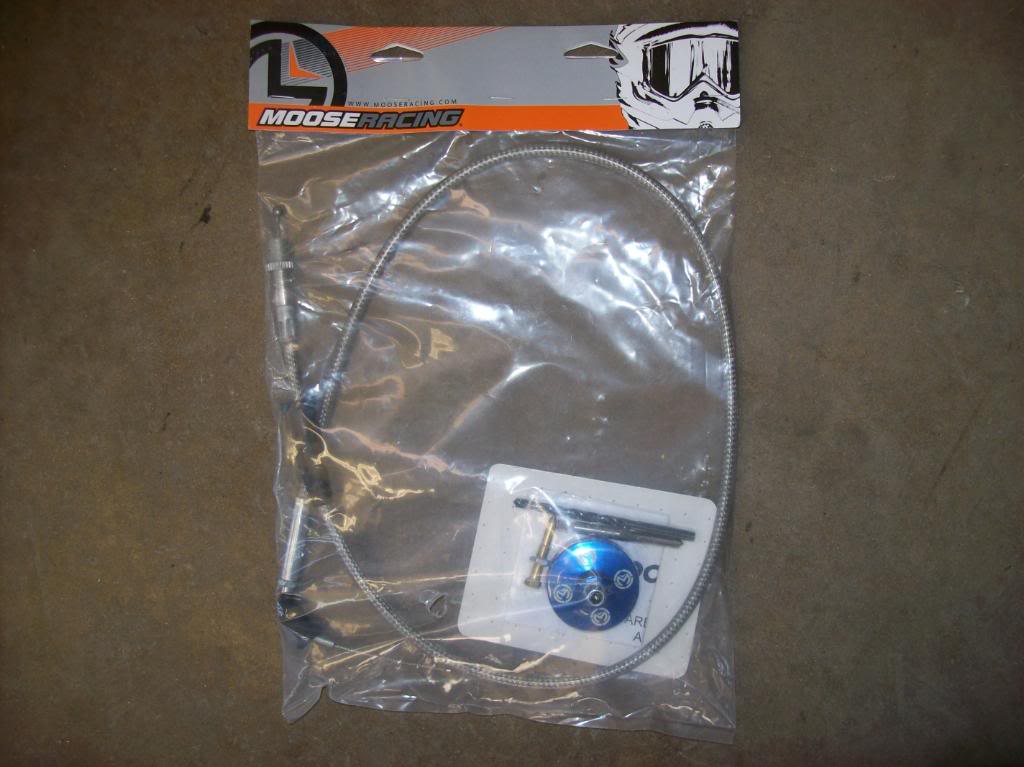
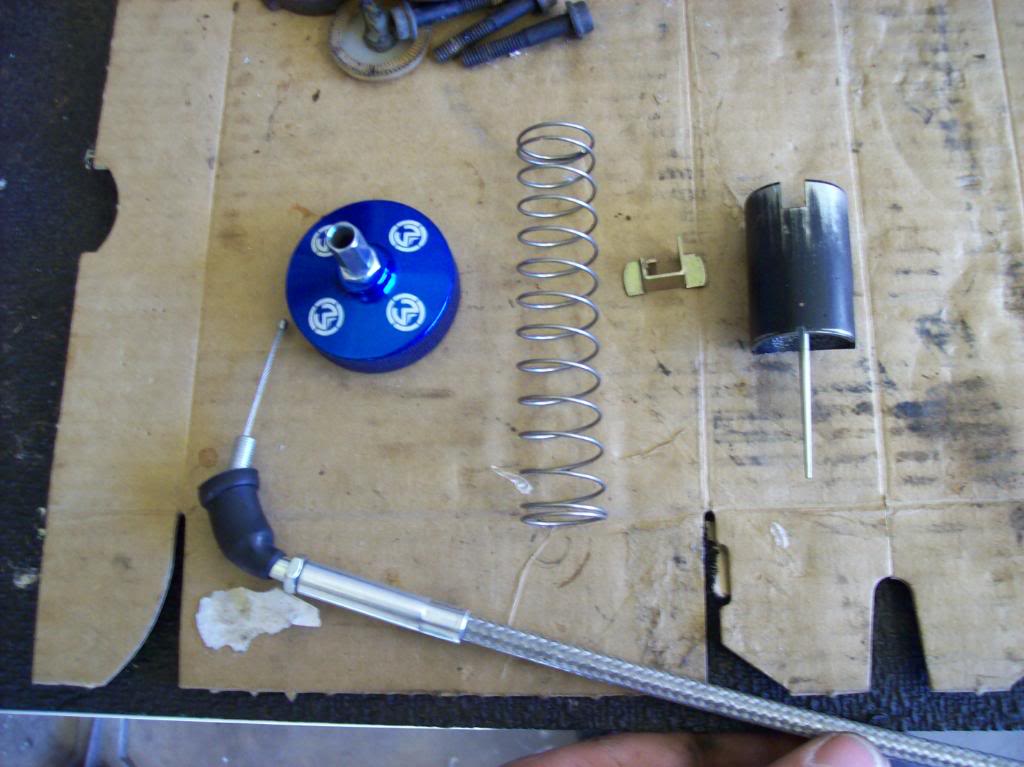
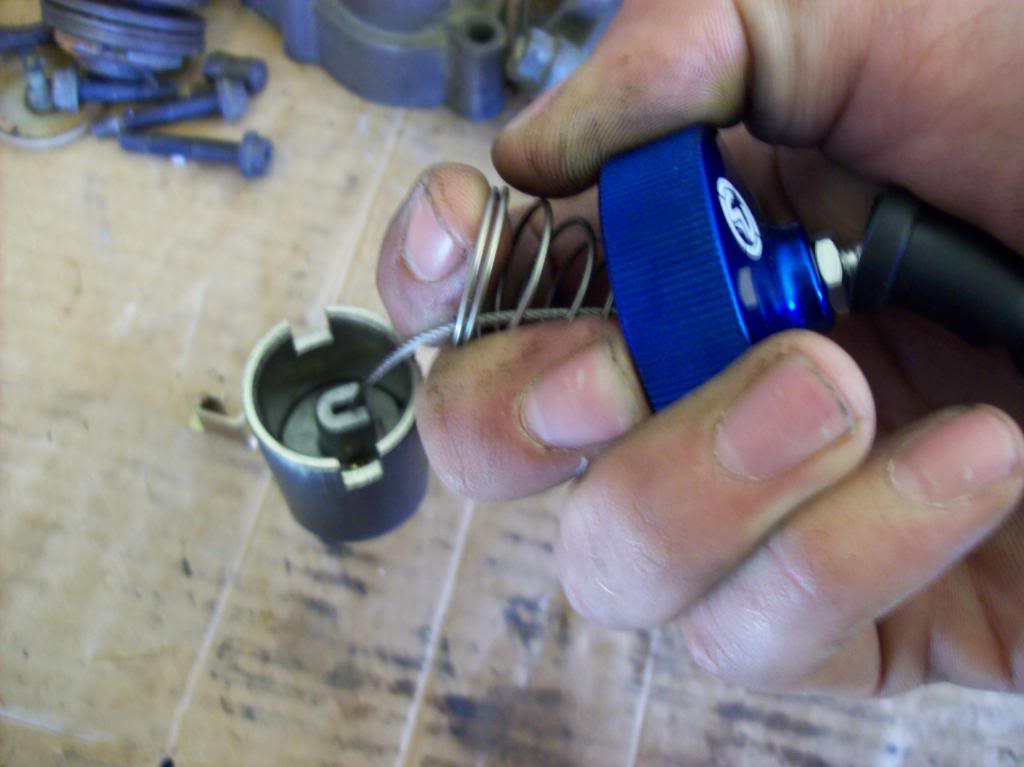
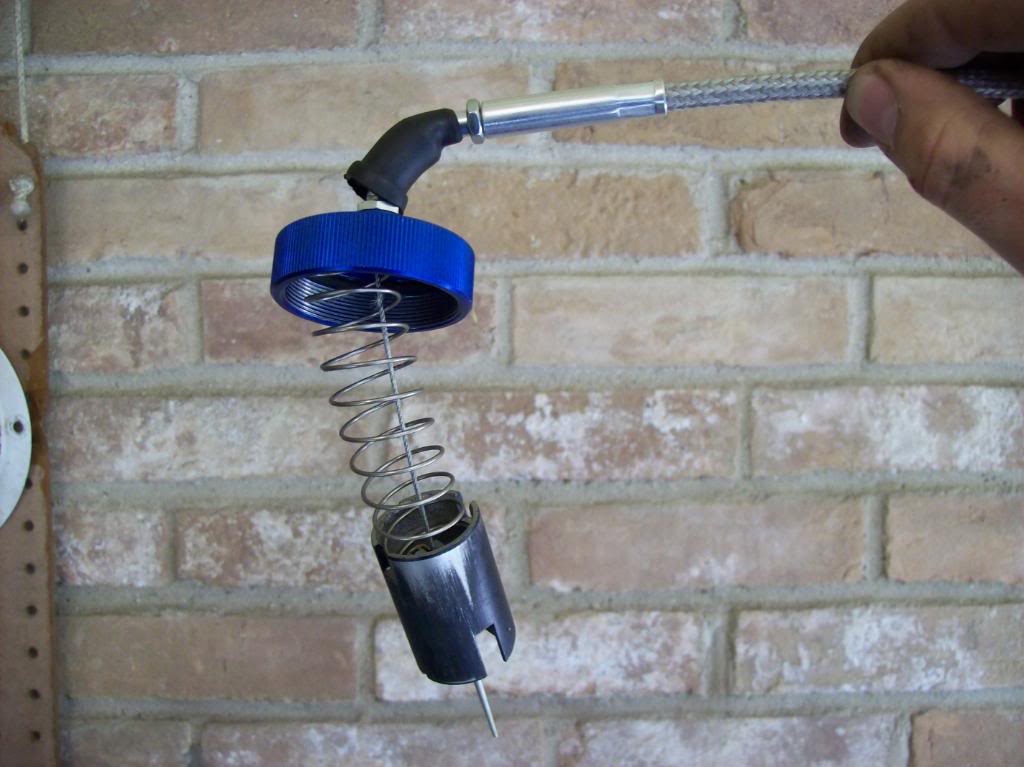
Here's the kit. I got mine from Moose Racing, as I'm a sucker for anodized aluminum in matching colors. 8-| Vito's and Motion Pro also offer these kits, although they are a bit less flashy. And therefore cheaper.
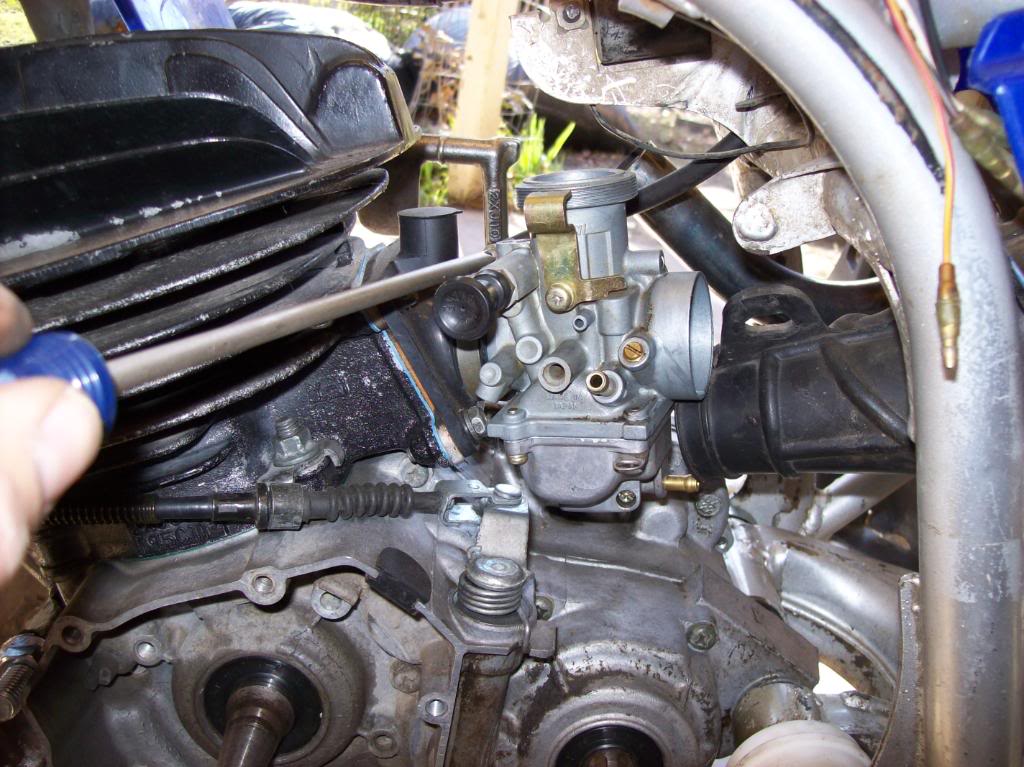
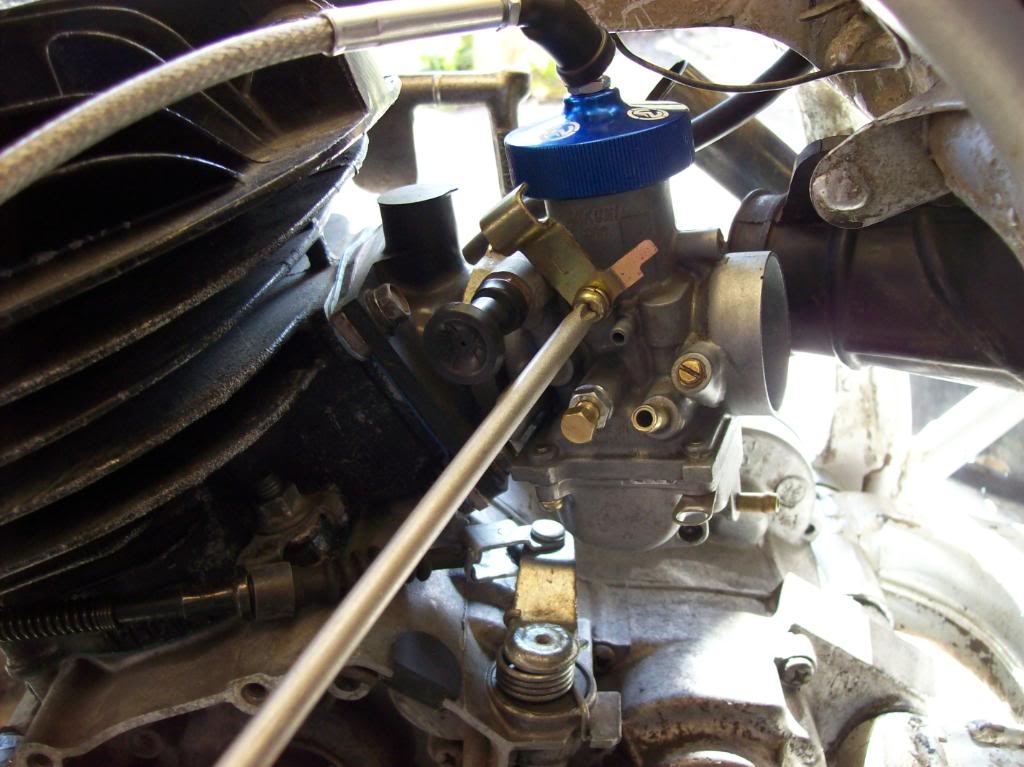
First, remove the stock cap and cable from the carburetor. Take the carb. off your Blaster...
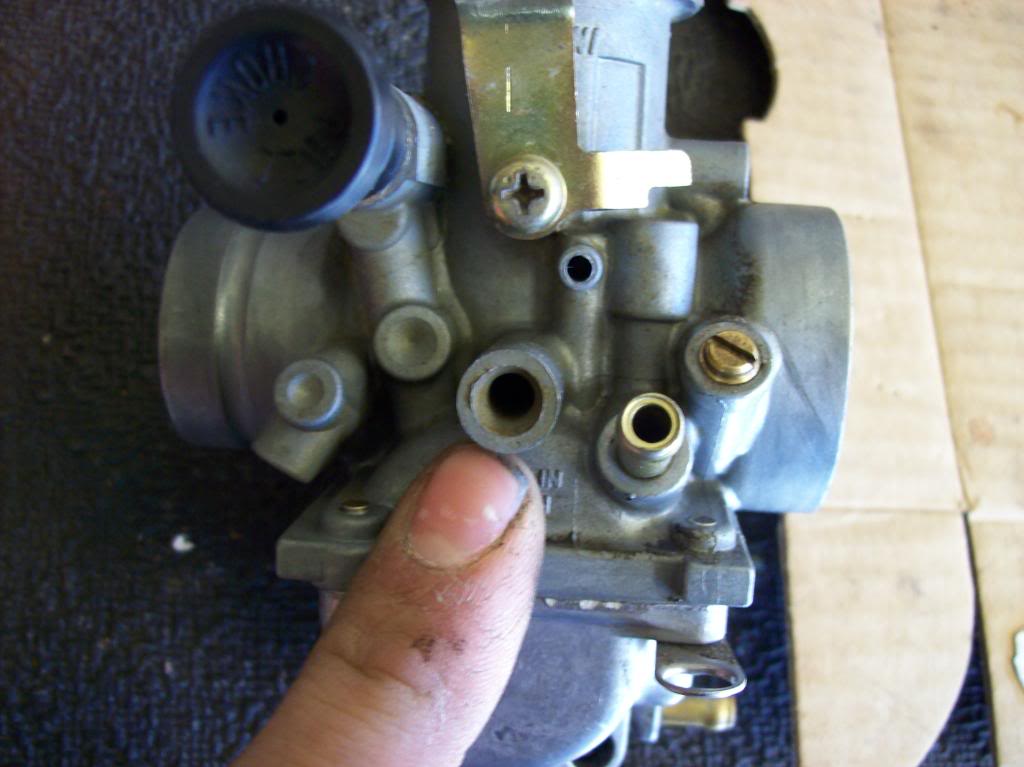
Note the filled-in hole on the left side of the carburetor, next to the fuel inlet. It is NOT drilled OR tapped. Yet. It soon will be. DO NOT mistakenly drill out the similar hole on the opposite side of the carburetor. It is factory-threaded, but the idle screw won't work if put in on this side of the carb.
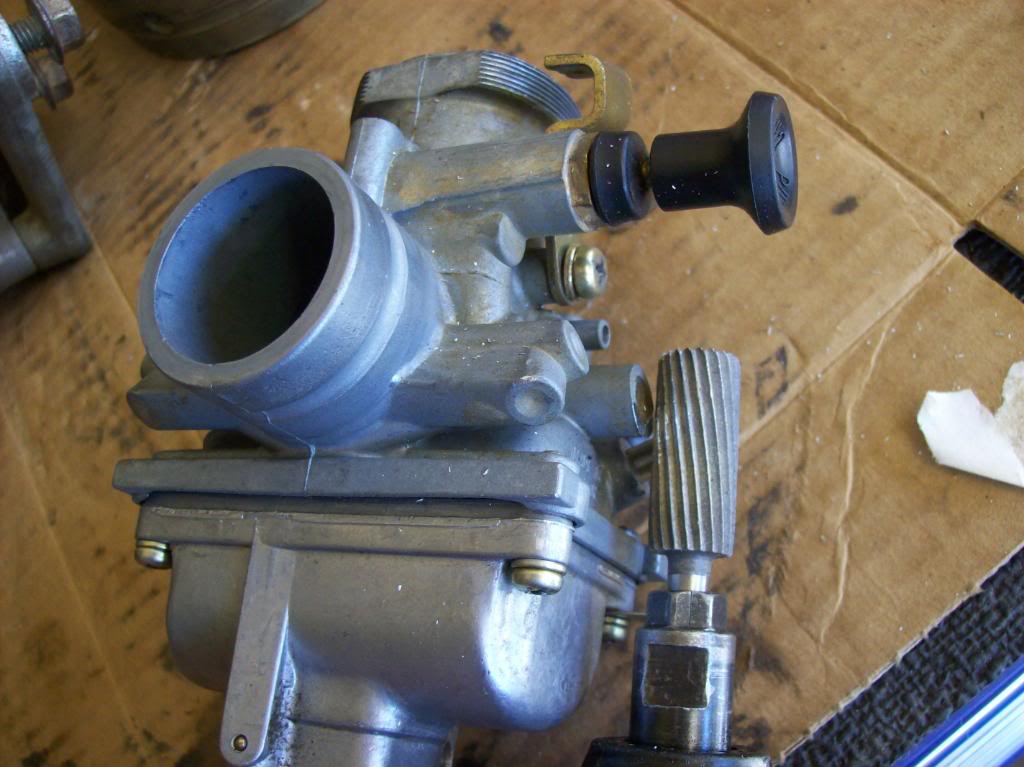
Using a grinding burr (shown here) or a hand file, you'll need to remove the taper from the lip of the un-tapped hole on the carburetor. This is done to ensure that the lock nut for the idle screw has a flat surface on which to seat.
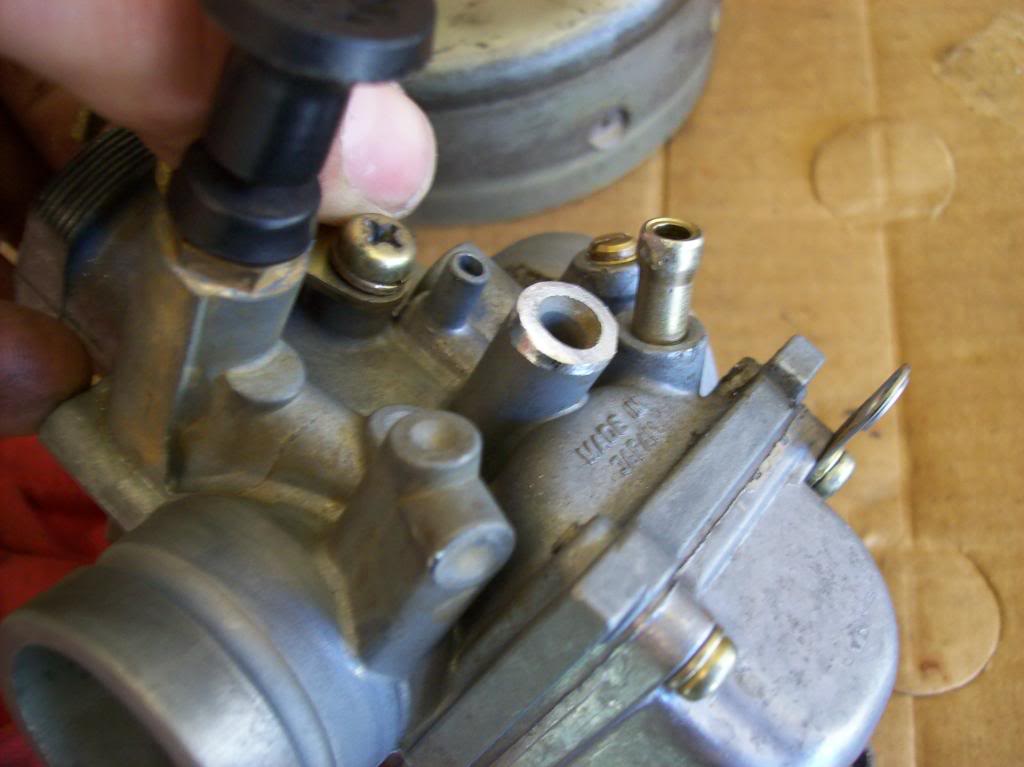
Here's the intended result. One clean and very flat flange. Work slowly, and be careful if you're using an air tool. The grinding burr will cut aggressively, and it is easy to take off too much aluminum. Also, DO NOT use a mounted stone when grinding aluminum. The aluminum will load up on the stone and may cause it to fly apart.
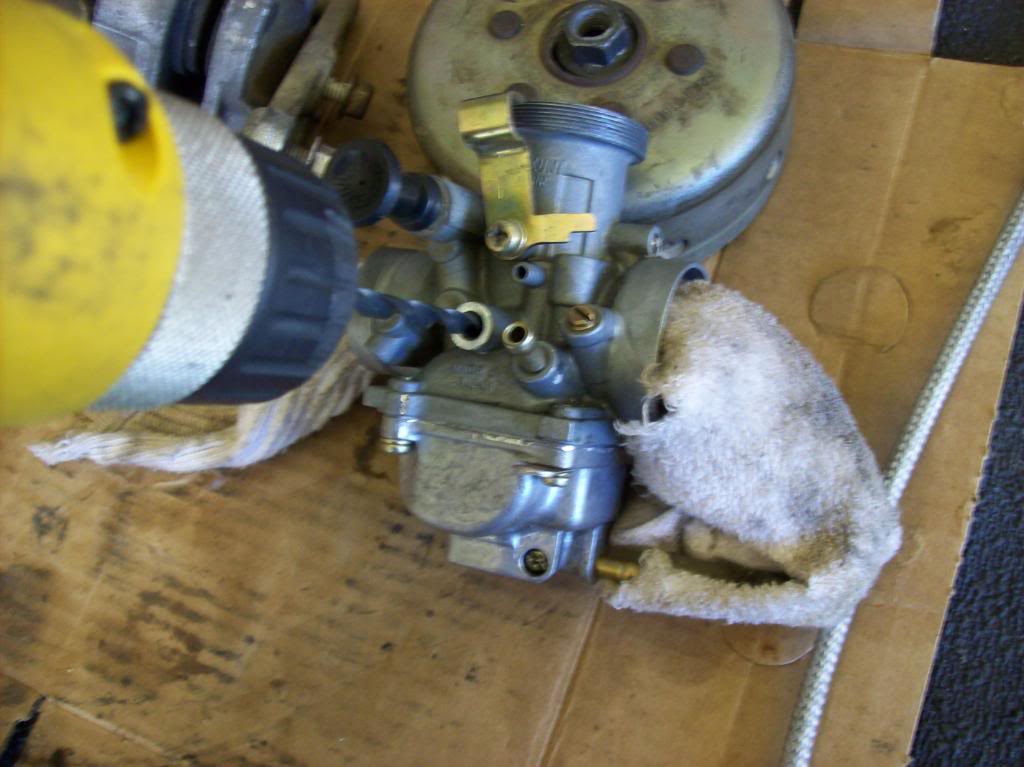
Once you have the flange ground down, it is time to use the drill bit supplied with the idle screw kit. Shove a rag down the venturi of the carburetor to help keep metal shavings out. Using a drill press (or a very steady hand) drill all the way through the hole, until the drill bit emerges into the throat of the carburetor. Again, work slowly and patiently. A vise really helps here, too...
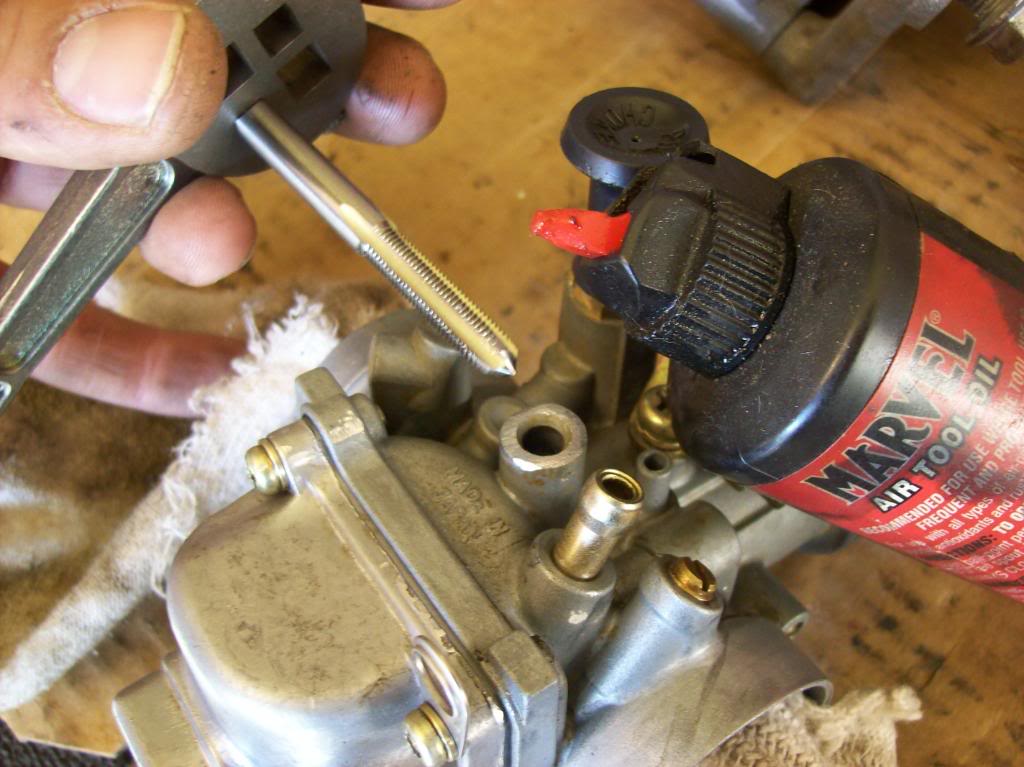
Now that you have a neat hole in the side of your expensive carburetor, it is time to thread it. Using the tap supplied in the idle kit (and some lubricant), thread the tap into the hole and spin it home. Make sure to cut new threads all the way into the throat of the carburetor. It is a good idea to check for burrs after you get done, especially inside the carb. You don't want the throttle slide getting stuck on a rough edge.
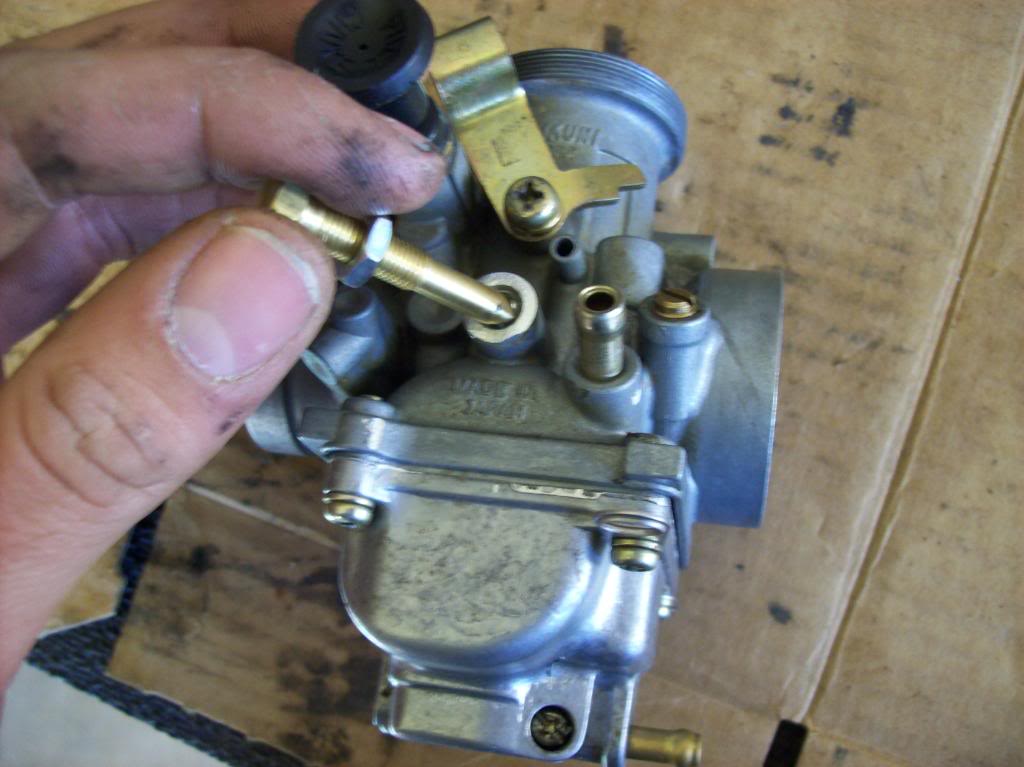
Almost done with Part #1! Just blow out any wayward aluminum shavings, thread the idle screw into the fresh hole...
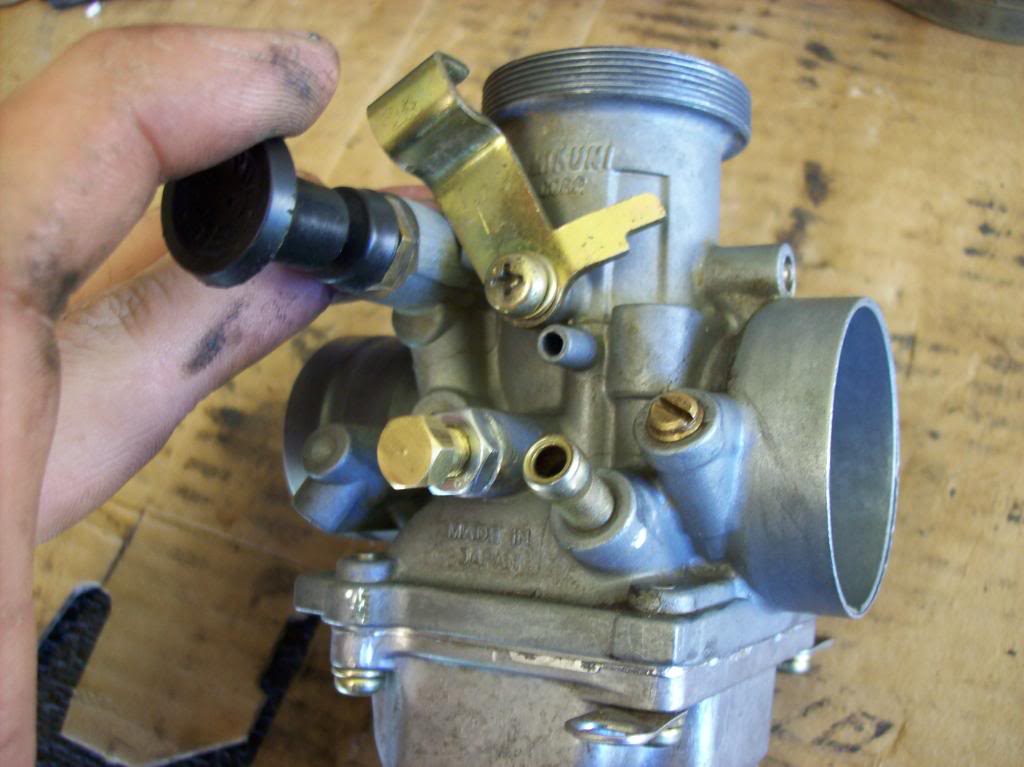
...and you're done with the hardest part. Here's the end result. The idle speed will have to be set once you get the carburetor back on the quad and the engine warmed up. Turn the screw to the proper setting and jam it in place with the lock nut. Just make sure to get ALL pieces of aluminum out of the carburetor before re-installing it. You don't want any metal shavings getting into the crankcase. Part 2 is coming up. I'll cover putting the new cap on the carb. in a few minutes...

Here's the kit. I got mine from Moose Racing, as I'm a sucker for anodized aluminum in matching colors. 8-| Vito's and Motion Pro also offer these kits, although they are a bit less flashy. And therefore cheaper.

First, remove the stock cap and cable from the carburetor. Take the carb. off your Blaster...

Note the filled-in hole on the left side of the carburetor, next to the fuel inlet. It is NOT drilled OR tapped. Yet. It soon will be. DO NOT mistakenly drill out the similar hole on the opposite side of the carburetor. It is factory-threaded, but the idle screw won't work if put in on this side of the carb.

Using a grinding burr (shown here) or a hand file, you'll need to remove the taper from the lip of the un-tapped hole on the carburetor. This is done to ensure that the lock nut for the idle screw has a flat surface on which to seat.

Here's the intended result. One clean and very flat flange. Work slowly, and be careful if you're using an air tool. The grinding burr will cut aggressively, and it is easy to take off too much aluminum. Also, DO NOT use a mounted stone when grinding aluminum. The aluminum will load up on the stone and may cause it to fly apart.

Once you have the flange ground down, it is time to use the drill bit supplied with the idle screw kit. Shove a rag down the venturi of the carburetor to help keep metal shavings out. Using a drill press (or a very steady hand) drill all the way through the hole, until the drill bit emerges into the throat of the carburetor. Again, work slowly and patiently. A vise really helps here, too...

Now that you have a neat hole in the side of your expensive carburetor, it is time to thread it. Using the tap supplied in the idle kit (and some lubricant), thread the tap into the hole and spin it home. Make sure to cut new threads all the way into the throat of the carburetor. It is a good idea to check for burrs after you get done, especially inside the carb. You don't want the throttle slide getting stuck on a rough edge.

Almost done with Part #1! Just blow out any wayward aluminum shavings, thread the idle screw into the fresh hole...

...and you're done with the hardest part. Here's the end result. The idle speed will have to be set once you get the carburetor back on the quad and the engine warmed up. Turn the screw to the proper setting and jam it in place with the lock nut. Just make sure to get ALL pieces of aluminum out of the carburetor before re-installing it. You don't want any metal shavings getting into the crankcase. Part 2 is coming up. I'll cover putting the new cap on the carb. in a few minutes...

