this should be used ANYtime you remove or redo the top end or whole motor or if you are having jetting issues.
Step 1. take your carb or intake boot to homedepot, lowes etc. and head for the PVC fitting isle, and find an end cap with a threaded hole about the right size so that it can be stuffed into the intake and clamped down.
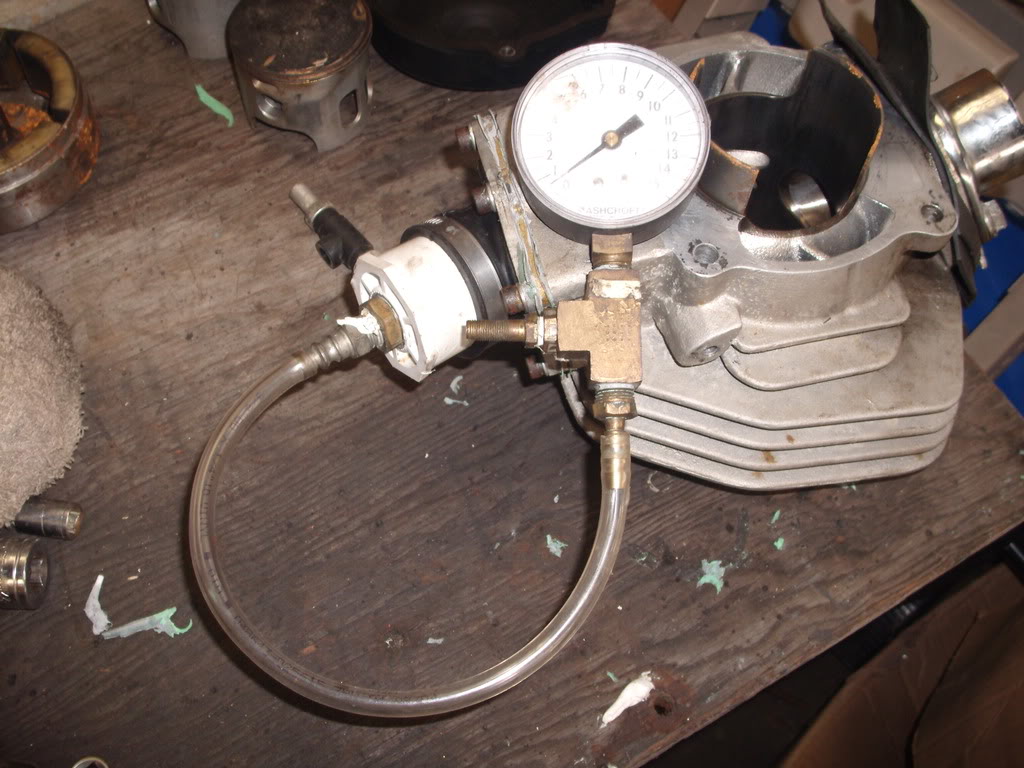
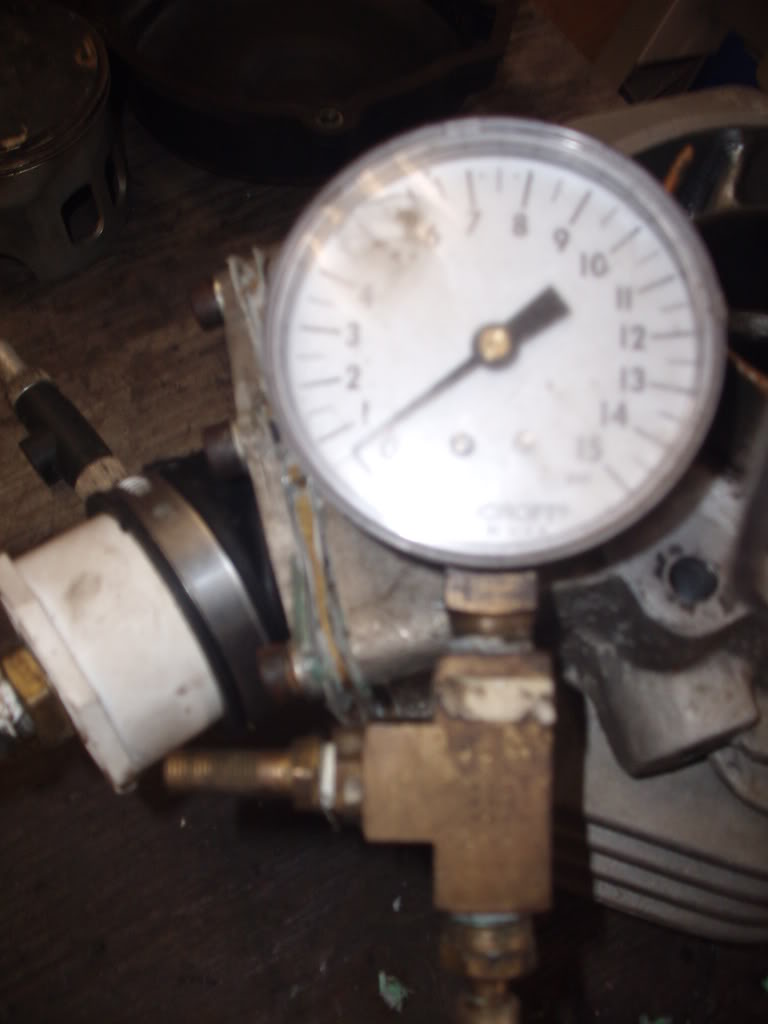
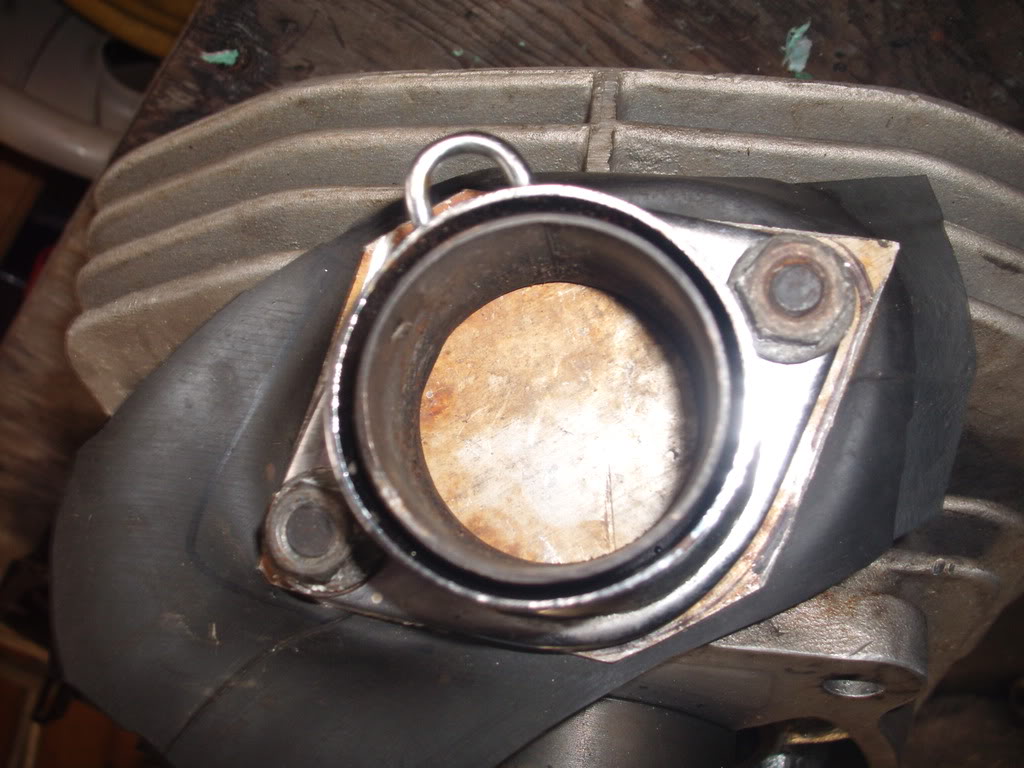
Step 2. go to the air fitting dept and get a brass T, a schrader valve (tire valve) and a low pressure guage 10~20 psi, and 2 barbed fittings, one that fits the 'T' and one that fits the pvc. you may meed a reducer or two. if you are having trouble figureing it out, the guy at the store can hook you up. assemble the pieces into something resembeling the picture. to seal the exhaust port, get a piece of sheet metal, aluminum etc., cut it out about the size of the exhaust manifold, maybe a little bigger, measure the distance between the exhaust studs and drill 2 holes. take some rubber (like an old innertube) and cut out a piece to use as a gasket between the piece of metal and the cylinder.
Step3. pull the exhause manifold off and use it to sandwhich the rubber abd mettal and tighten it up, and install your contraption in the intake boot.
step 4. use a bicycle pump (not the aircompressor!) to pressurize the motor to 7psi and wait 5 minutes. If the airpressure goes down more than 1 psi or so you have an air leak. take an old windex type squirt bottle and put some dish soap and water in it and start squirting the motor, head gasket, base gasket, intake gasket.. and look fo bubbles. if you find bubbles you found your leak. if no bubbles, squirt the seam all the way around where the case halves come together. if still no leaks start taking things apart and checking the main bearing seals. simple.
Step 1. take your carb or intake boot to homedepot, lowes etc. and head for the PVC fitting isle, and find an end cap with a threaded hole about the right size so that it can be stuffed into the intake and clamped down.
Step 2. go to the air fitting dept and get a brass T, a schrader valve (tire valve) and a low pressure guage 10~20 psi, and 2 barbed fittings, one that fits the 'T' and one that fits the pvc. you may meed a reducer or two. if you are having trouble figureing it out, the guy at the store can hook you up. assemble the pieces into something resembeling the picture. to seal the exhaust port, get a piece of sheet metal, aluminum etc., cut it out about the size of the exhaust manifold, maybe a little bigger, measure the distance between the exhaust studs and drill 2 holes. take some rubber (like an old innertube) and cut out a piece to use as a gasket between the piece of metal and the cylinder.
Step3. pull the exhause manifold off and use it to sandwhich the rubber abd mettal and tighten it up, and install your contraption in the intake boot.
step 4. use a bicycle pump (not the aircompressor!) to pressurize the motor to 7psi and wait 5 minutes. If the airpressure goes down more than 1 psi or so you have an air leak. take an old windex type squirt bottle and put some dish soap and water in it and start squirting the motor, head gasket, base gasket, intake gasket.. and look fo bubbles. if you find bubbles you found your leak. if no bubbles, squirt the seam all the way around where the case halves come together. if still no leaks start taking things apart and checking the main bearing seals. simple.

