Lots of guys seem to throw on the Walmart special but having saw pictures myself I still don't think they're that good and just not my personal taste. With that said, this can be done for just a few bucks, some time a dremel and some epoxy and RTV.
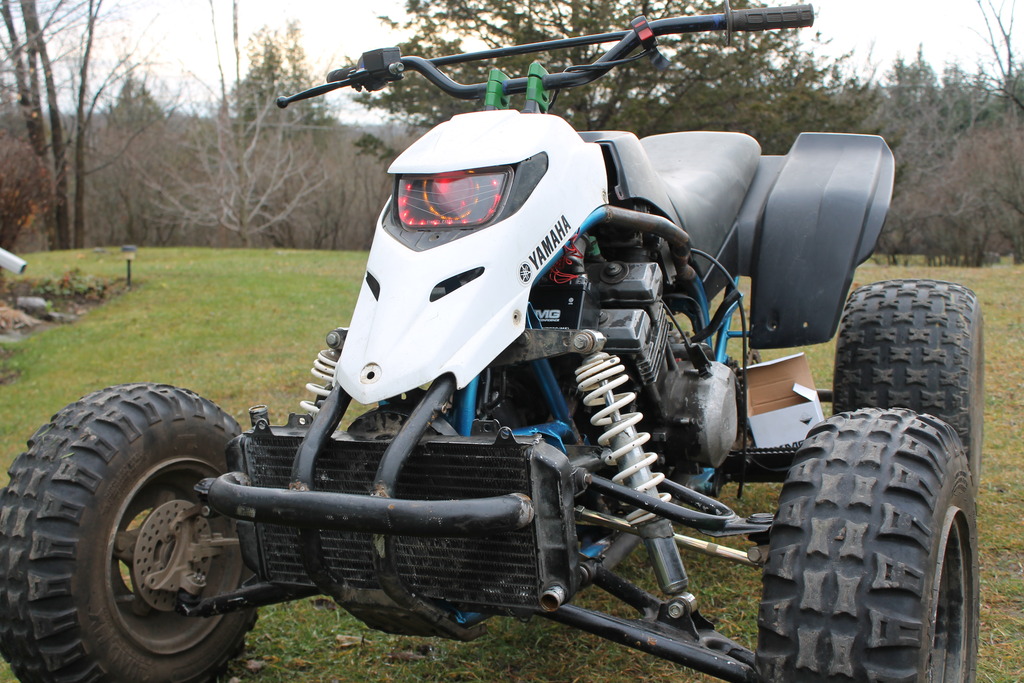
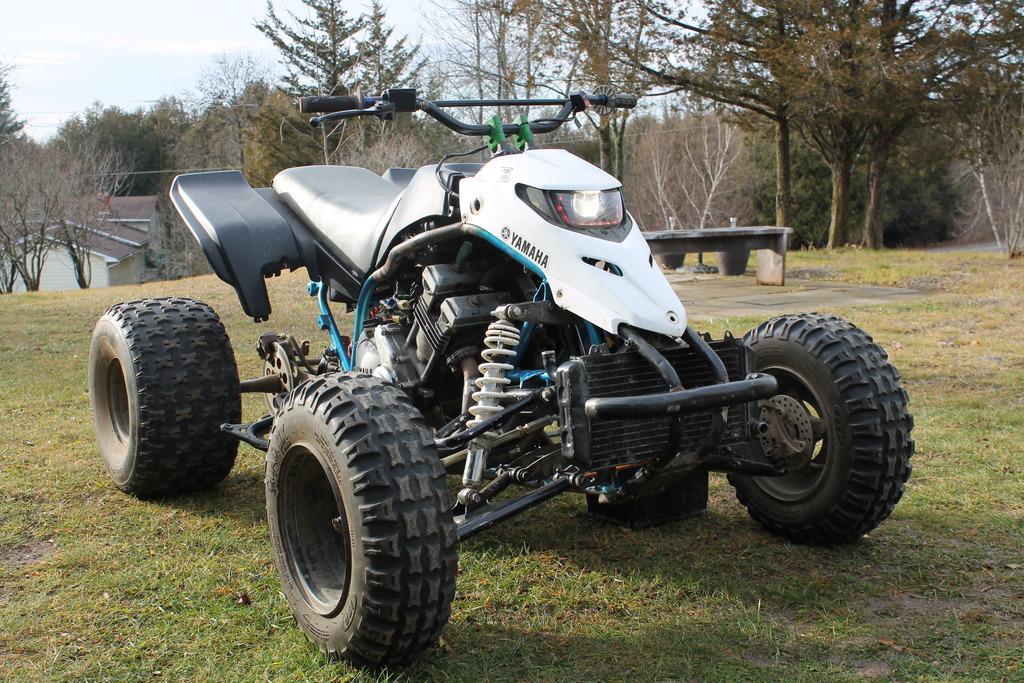
I'm using this in my streetbike engine swapped Blaster that isn't finished yet though it has plenty of power for HID's but you could still stick the brightest bulb the bike can handle and the projector will still focus the light well enough.
I used an old A4 projector with a burnt bowl I had from doing a retrofit a while ago however a much better option is going to TheRetrofitSource's website and buying a set of the $20 Morimoto H1's (https://www.theretrofitsource.com/closeouts/standard-mini-h1-bi-xenon-projectors.html#.VmCLm2SrS2w) they've got in the closeout section. They always have them up there. Pick up a cheap set of shrouds and you're golden. I'd recommend the Mini gatling or Graphite one's as they are the smallest and you'll be cutting most of it anyway. You can also get the LED's there however they are pricey. I had some cheap one's I got off ebay for about $5 a pair. They are the 3M flexible strip ones.
Anyway, this isn't quite a how-to since it uses an un-common projector but shows the steps and gives some info on it.
Step 1: Cut the headlight and know there is no going back!")
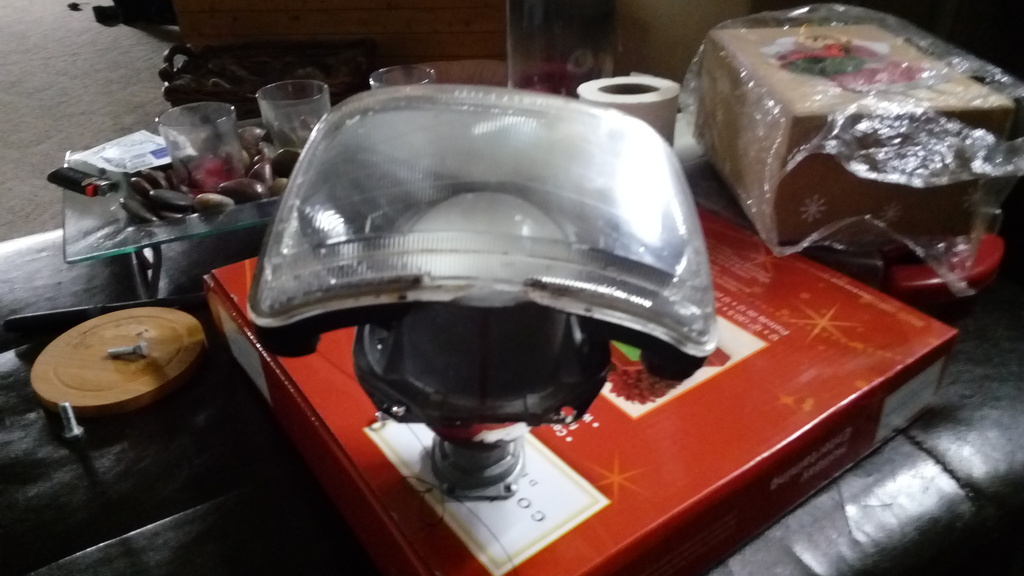
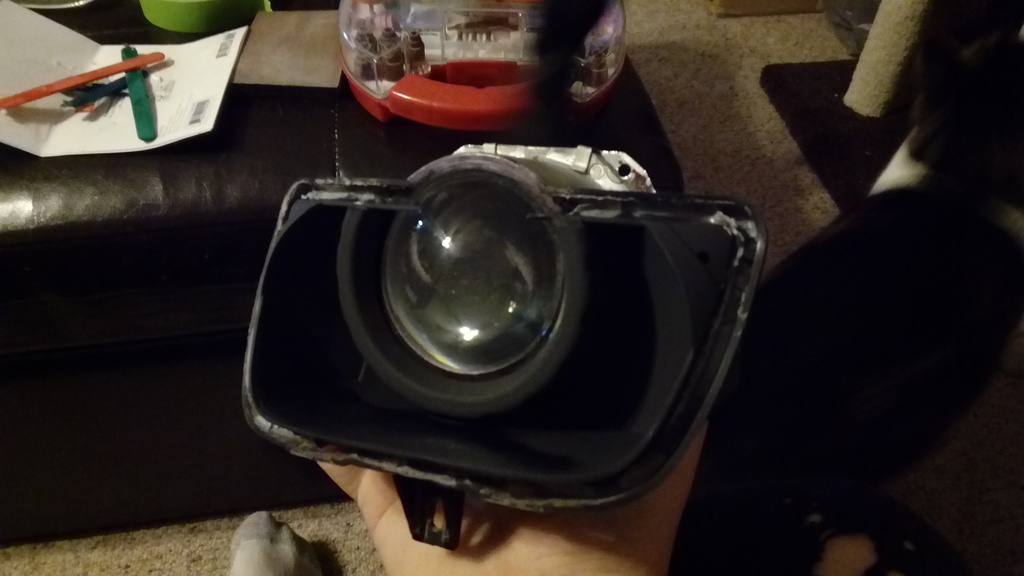
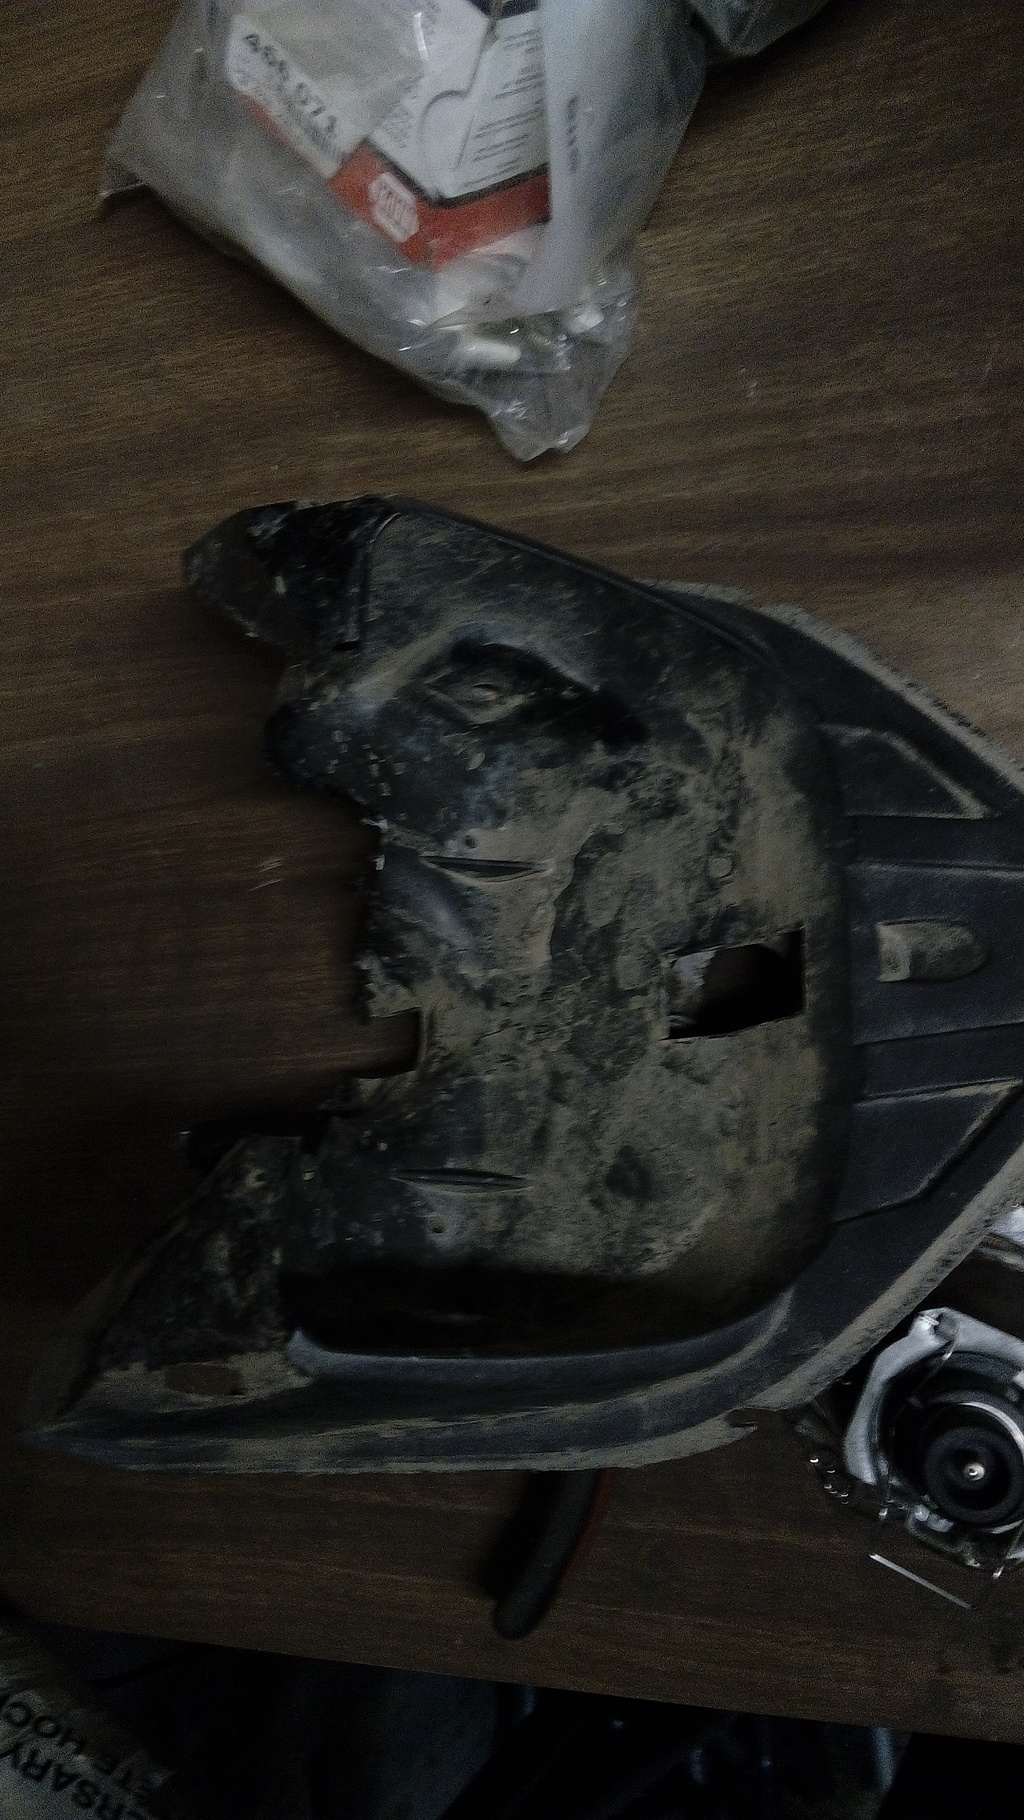
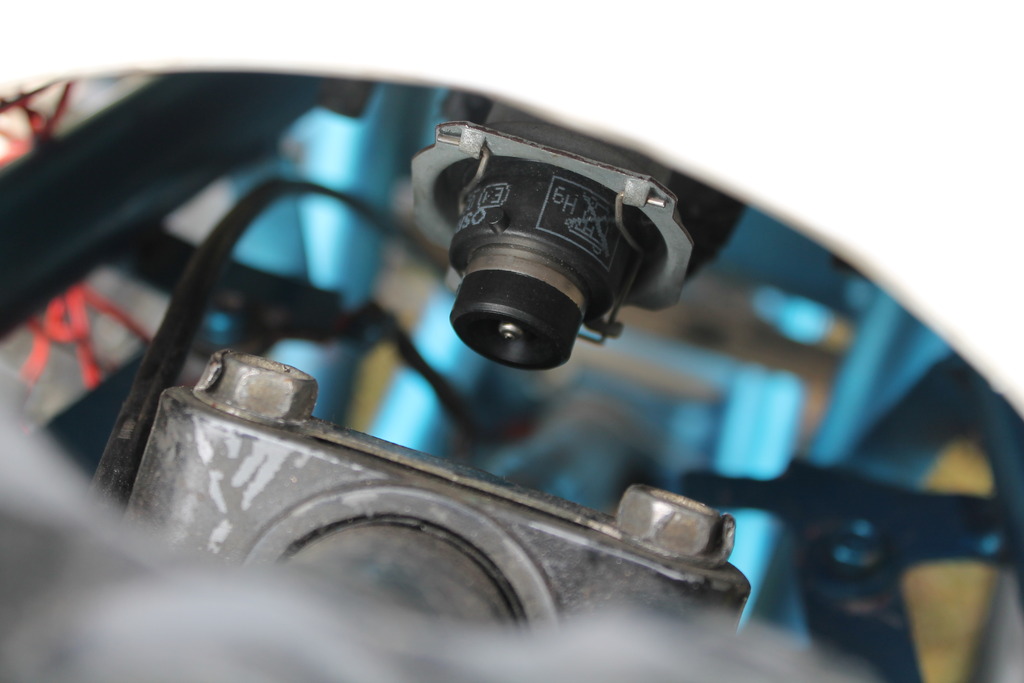
Eye up the projector with the housing and mark what you'll need to cut out. It's better to cut small and check your work as you go. Test fit, see where you need to cut more and try again. This way you don't cut way too big. Because of the added length of the projector you're going to want to get it almost touching the lens. Also, the top of the lens will be cut off since the projector is too tall. We'll use RTV to seal that up after.
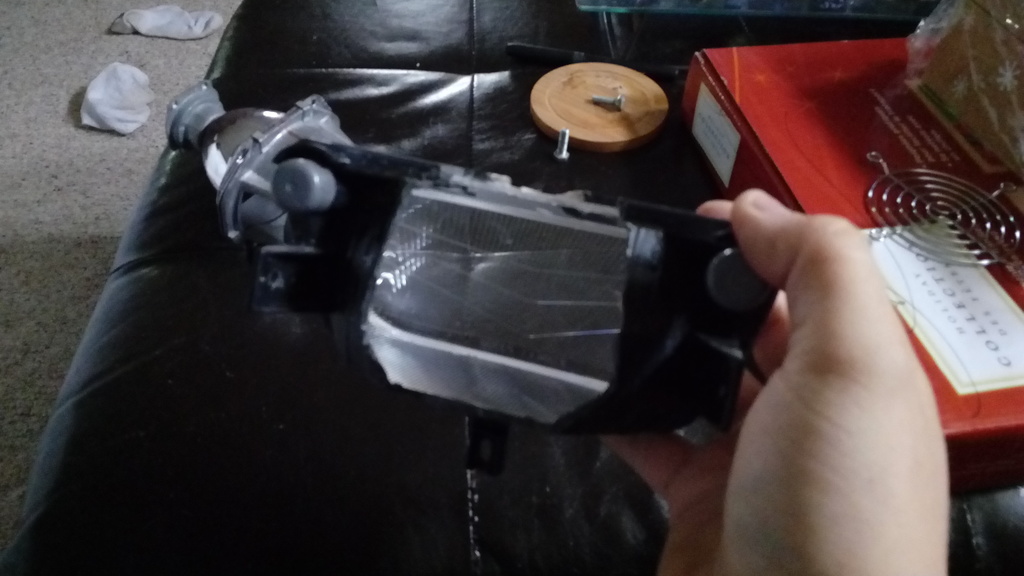
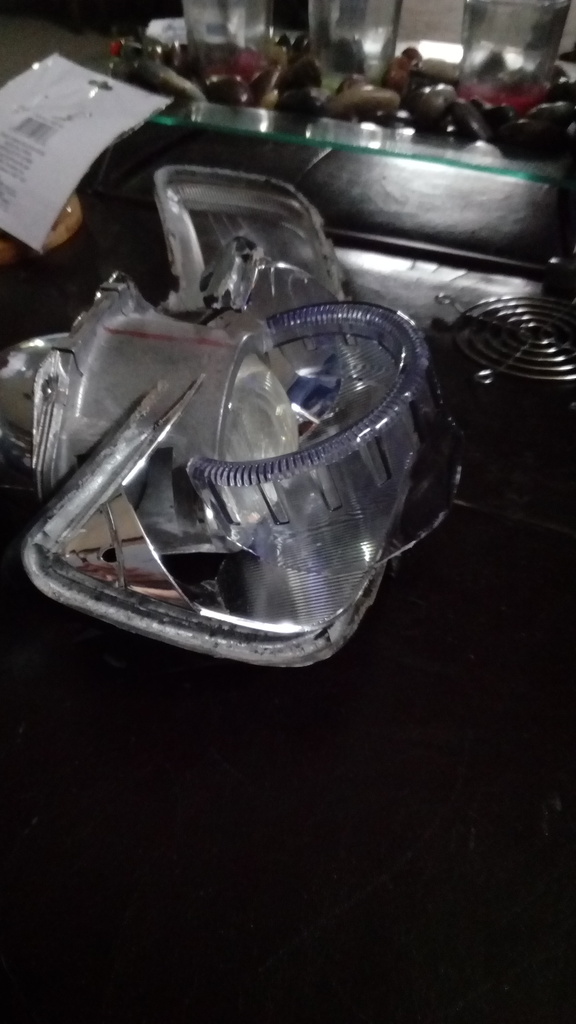
Step 2: Remove the lens and cutting shroud.
Using a microwave oven I put the whole assembly in for 11 mins at 250 and no preheat. It came right apart using a butter knife. You'll have to lift the tabs on the bottom for the lens to come off.
Marked the shroud and kept cutting little bits until it fit how I needed. This is just trial and error. Cut some off, test fit, cut, fit, cut etc.
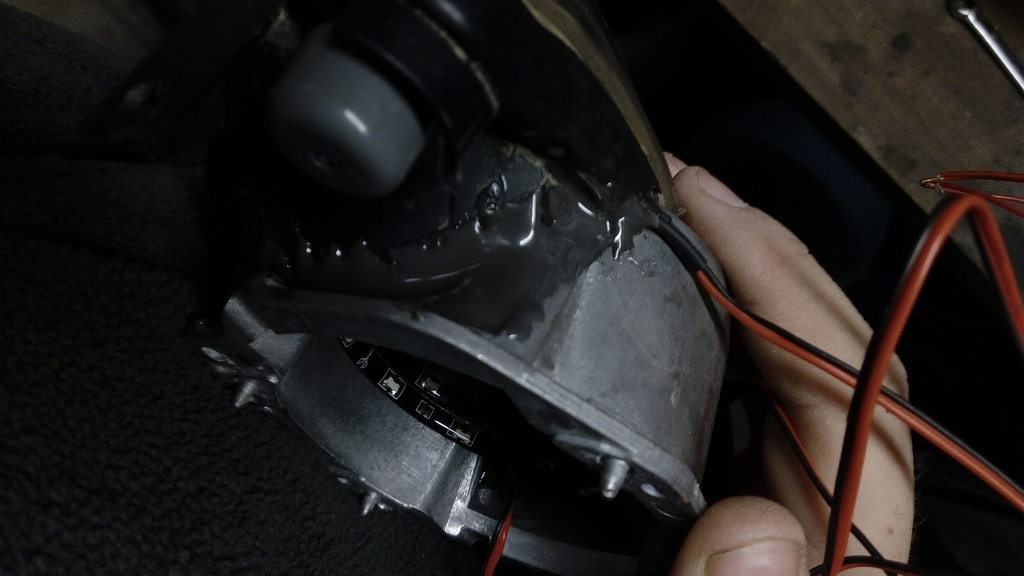
Once it fits nice with the projector and housing it's time to glue it in. I mixed up some Permatex cold steel to hold it in on the back side. I am not a fan of chrome so I paint it all flat black.
Step 3: The most important. Since most of the housing itself is cut away there isn't really any way to screw it in. So we glue it! Provided nothing happens to the lens of the projector this isn't a problem since the body of the projector just screws to the lens. Remove the bowl of the projector so you have just the lens. Now I don't have any pictures of this but what I did was mark the center line of the projector lens and used some quick setting epoxy to tack it to the housing so that it was straight. If you don't get the lens straight the cutoff will be crooked. I marked the center line so I could tell when it was level with the housing. Once it's tacked in, I took some painters tape and lined the inside so I could epoxy the lens to the Blaster housing. Pictures will show this better and I'll get some to clarify it. This holds the projector to the housing and also will keep water out.
Inside. This is where you tape it so you can lay the epoxy down to cover.
Outside after epoxy.
Step 4: Bling
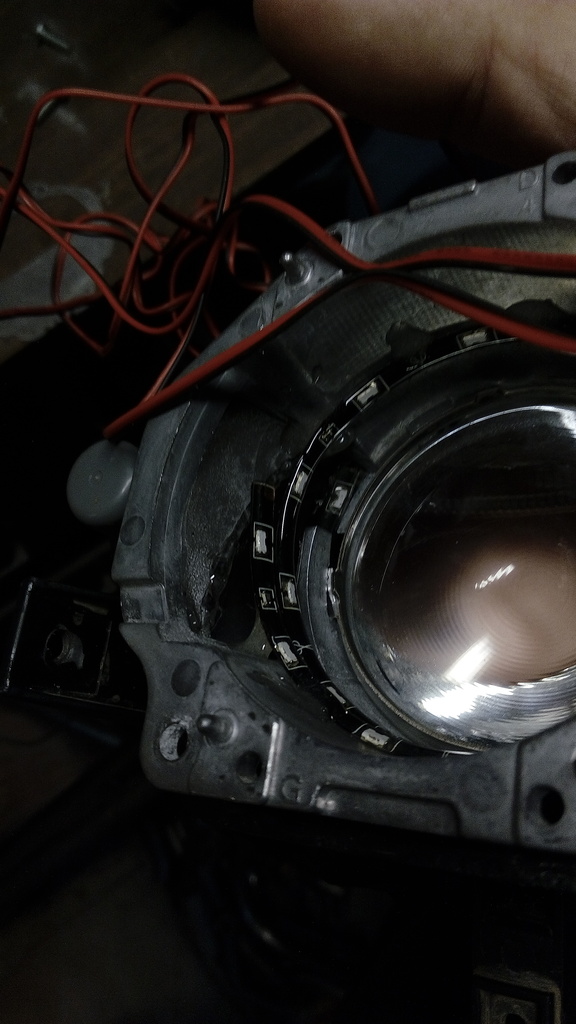
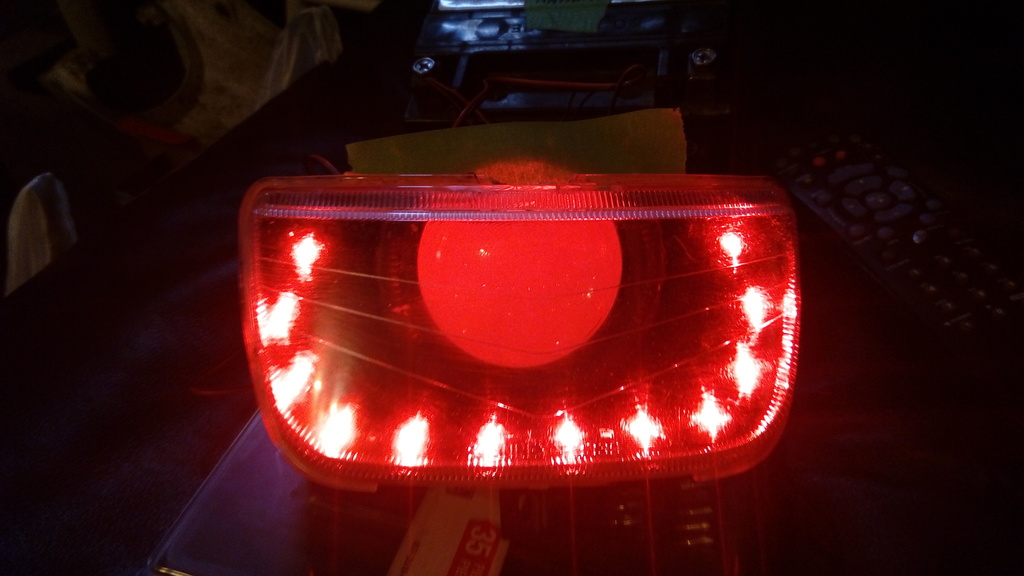
I put some LEDs in.
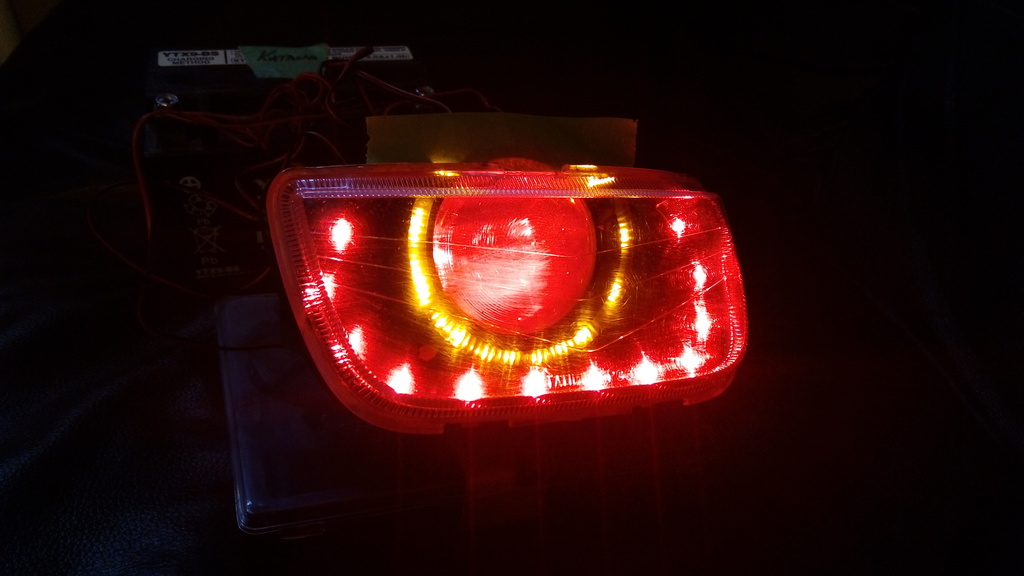
Somehow lost 2 LEDs in the halo when I was putting in the projector lens but nothing I can do. Not my favourite color combo but used what I had.
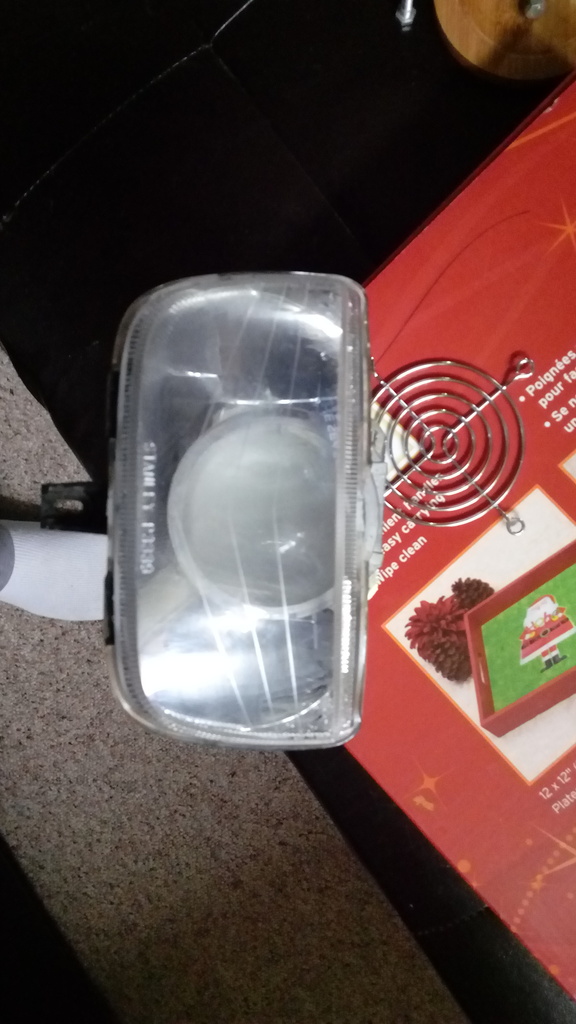
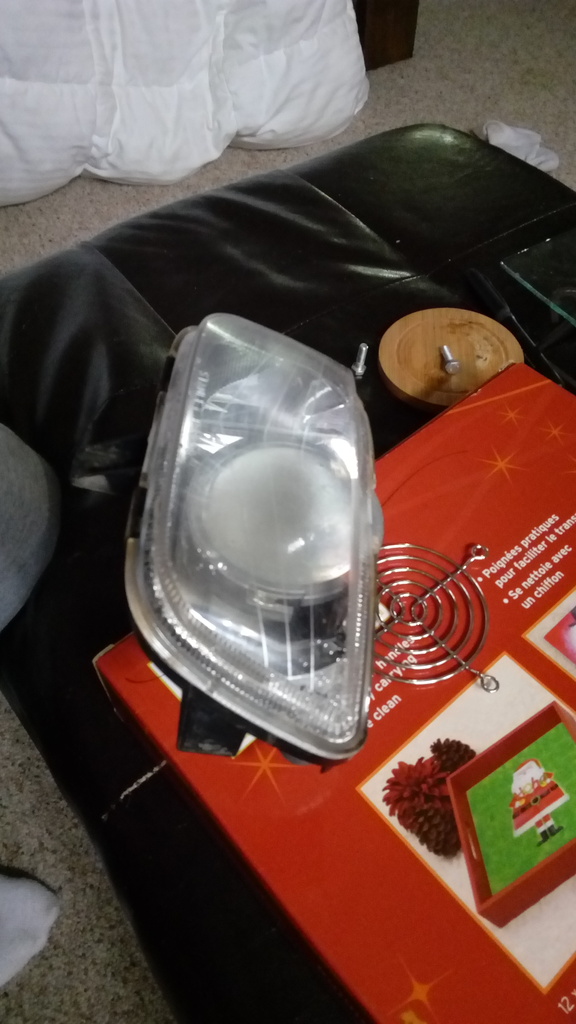
Step 5: Once that's done you need to glue the lens back on. I just used a heat gun to reheat the glue in the lens and housing. After that is on you'll need to seal everything up with RTV. For me that was around the top of the lens where the projector sticks up and at the bottom of the Blaster housing.
Lastly, you'll need to cut the top off the plastic surround that holds the headlight itself.
Then reinstall and wire accordingly. The Morimoto's are bi-xenon so you could wire a switch to have high-beam as well. It just drops the cutoff by using a solenoid, there isn't a second bulb or draw on the system.

Close but it fits with the ballast connected.
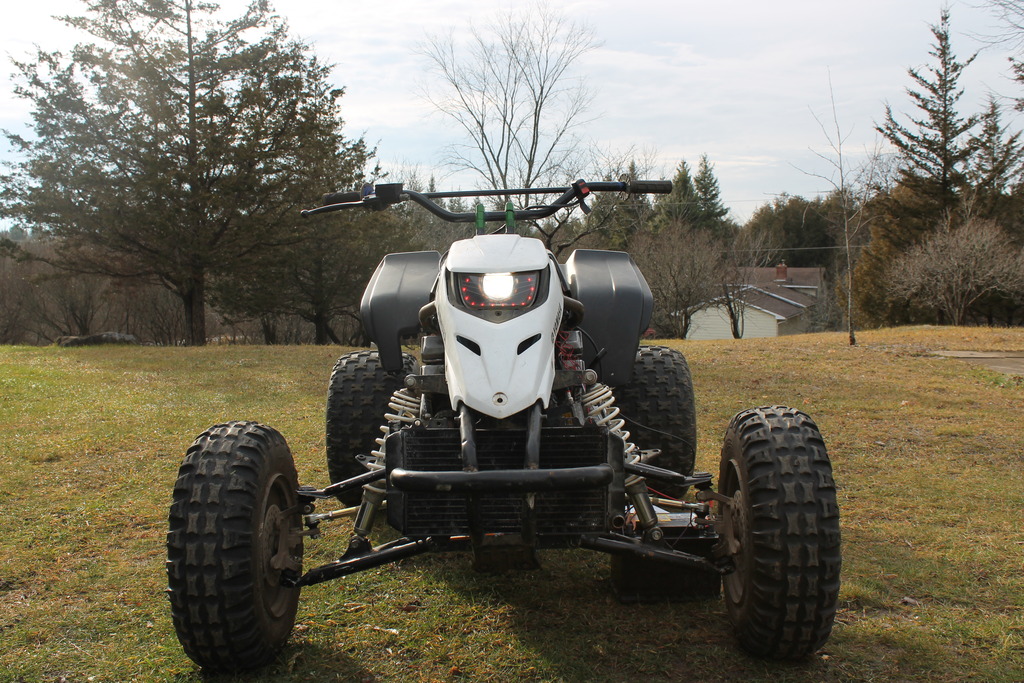
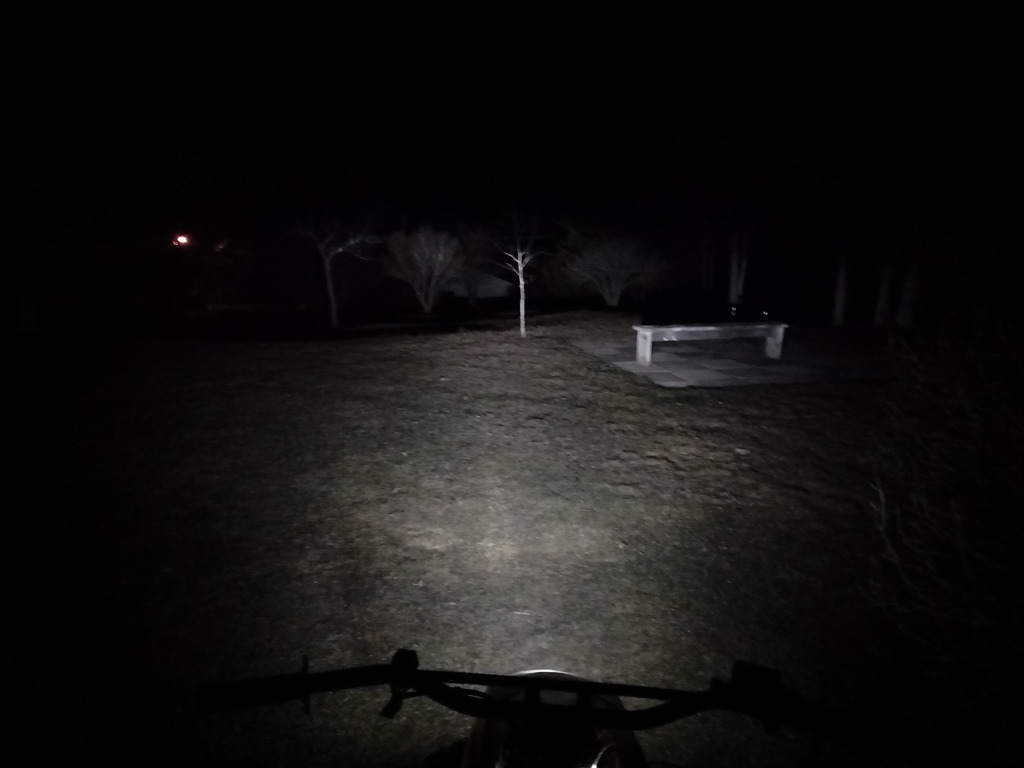
And an output pic. Hard to really capture how well it works in a picture but it's plenty bright.
I'm using this in my streetbike engine swapped Blaster that isn't finished yet though it has plenty of power for HID's but you could still stick the brightest bulb the bike can handle and the projector will still focus the light well enough.
I used an old A4 projector with a burnt bowl I had from doing a retrofit a while ago however a much better option is going to TheRetrofitSource's website and buying a set of the $20 Morimoto H1's (https://www.theretrofitsource.com/closeouts/standard-mini-h1-bi-xenon-projectors.html#.VmCLm2SrS2w) they've got in the closeout section. They always have them up there. Pick up a cheap set of shrouds and you're golden. I'd recommend the Mini gatling or Graphite one's as they are the smallest and you'll be cutting most of it anyway. You can also get the LED's there however they are pricey. I had some cheap one's I got off ebay for about $5 a pair. They are the 3M flexible strip ones.
Anyway, this isn't quite a how-to since it uses an un-common projector but shows the steps and gives some info on it.
Step 1: Cut the headlight and know there is no going back!
Eye up the projector with the housing and mark what you'll need to cut out. It's better to cut small and check your work as you go. Test fit, see where you need to cut more and try again. This way you don't cut way too big. Because of the added length of the projector you're going to want to get it almost touching the lens. Also, the top of the lens will be cut off since the projector is too tall. We'll use RTV to seal that up after.
Step 2: Remove the lens and cutting shroud.
Using a microwave oven I put the whole assembly in for 11 mins at 250 and no preheat. It came right apart using a butter knife. You'll have to lift the tabs on the bottom for the lens to come off.
Marked the shroud and kept cutting little bits until it fit how I needed. This is just trial and error. Cut some off, test fit, cut, fit, cut etc.
Once it fits nice with the projector and housing it's time to glue it in. I mixed up some Permatex cold steel to hold it in on the back side. I am not a fan of chrome so I paint it all flat black.
Step 3: The most important. Since most of the housing itself is cut away there isn't really any way to screw it in. So we glue it! Provided nothing happens to the lens of the projector this isn't a problem since the body of the projector just screws to the lens. Remove the bowl of the projector so you have just the lens. Now I don't have any pictures of this but what I did was mark the center line of the projector lens and used some quick setting epoxy to tack it to the housing so that it was straight. If you don't get the lens straight the cutoff will be crooked. I marked the center line so I could tell when it was level with the housing. Once it's tacked in, I took some painters tape and lined the inside so I could epoxy the lens to the Blaster housing. Pictures will show this better and I'll get some to clarify it. This holds the projector to the housing and also will keep water out.
Inside. This is where you tape it so you can lay the epoxy down to cover.
Outside after epoxy.
Step 4: Bling
I put some LEDs in.
Somehow lost 2 LEDs in the halo when I was putting in the projector lens but nothing I can do. Not my favourite color combo but used what I had.
Step 5: Once that's done you need to glue the lens back on. I just used a heat gun to reheat the glue in the lens and housing. After that is on you'll need to seal everything up with RTV. For me that was around the top of the lens where the projector sticks up and at the bottom of the Blaster housing.
Lastly, you'll need to cut the top off the plastic surround that holds the headlight itself.
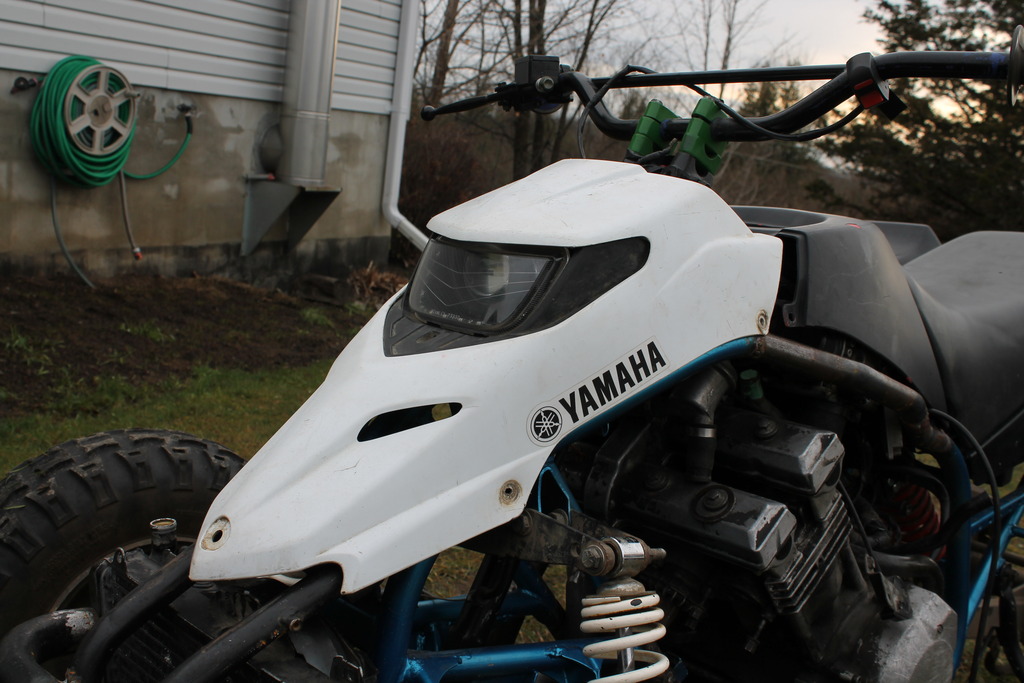
Then reinstall and wire accordingly. The Morimoto's are bi-xenon so you could wire a switch to have high-beam as well. It just drops the cutoff by using a solenoid, there isn't a second bulb or draw on the system.
Close but it fits with the ballast connected.
And an output pic. Hard to really capture how well it works in a picture but it's plenty bright.
Last edited:
