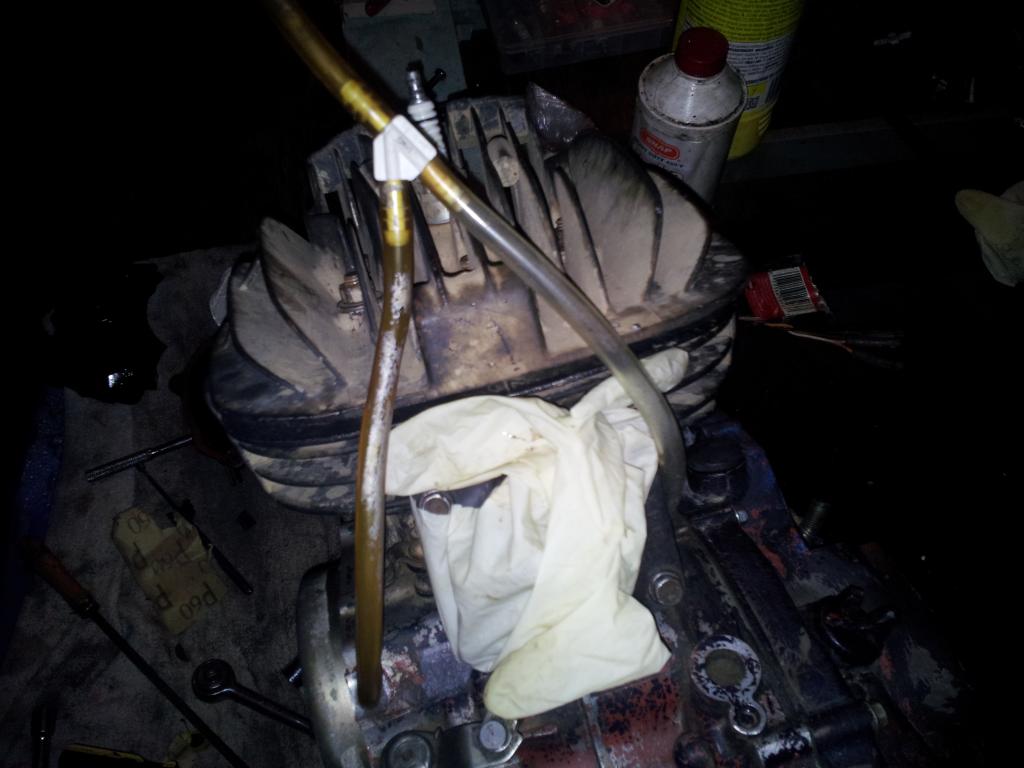
this is my first diy well first write up any way an easy simple stupid thing i did while bored and is temporary cover has been painted soooo many times a new one would be better when i have money for looks that is gotta get her runnin first
ok so i got bored and decided i didnt like the fact my covor was missing a rubber plug .... actually 2 of them a little one behind the front sprocket any way i decided to waterproof it as well { 100%] leak test approved lol but seriously i did it and sorry for all the damn silicon rtv stuff it looks worse than it is when the case is on you cant see any really so its ok and works well very well.
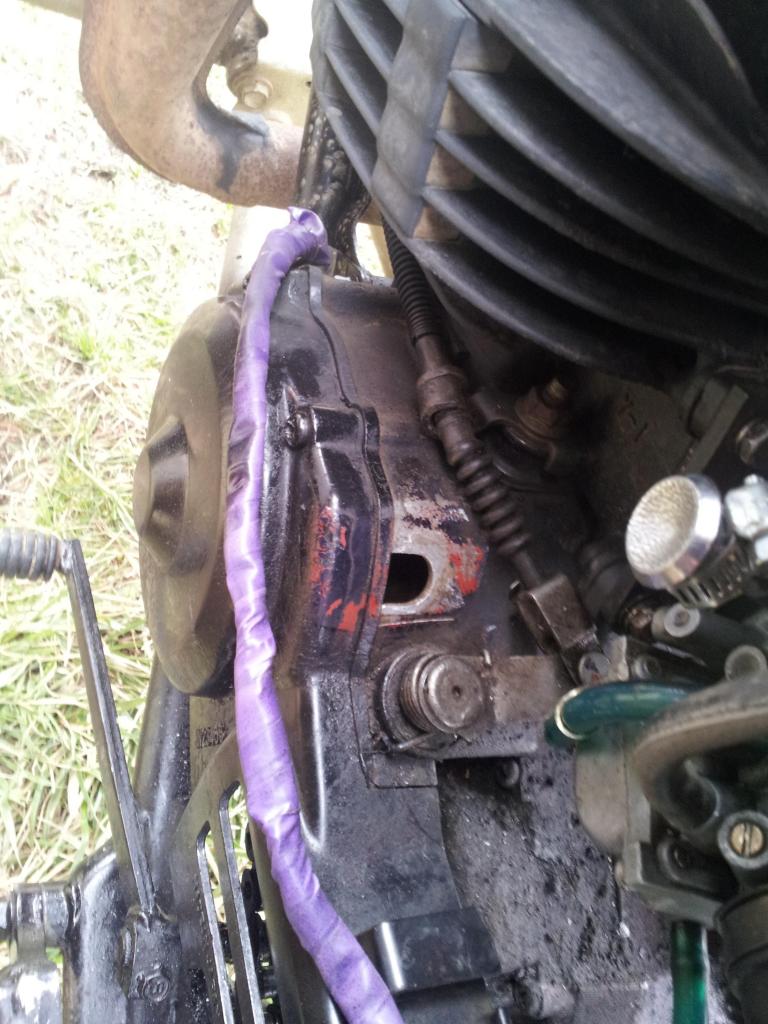
this is a before .. well kinda notice the hole and the screen is not there over the sprocket end
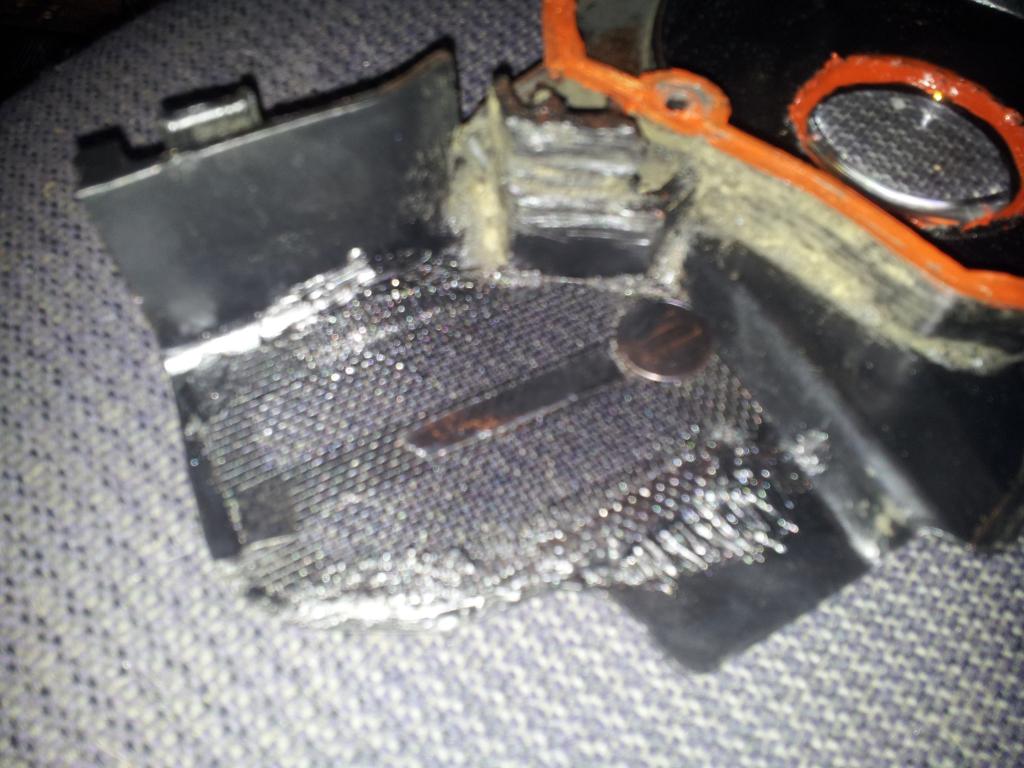
i used super glue and yes i know a penny and a strip of aluminum foil heavy duty and it was to just be able to keep pressure without gluing my finger on then i got it tacked down with super glue around the edges then let it dry added some black rtv also around the edges kinda thick and let it dry { no pressure needed the super glue had it secure enough.
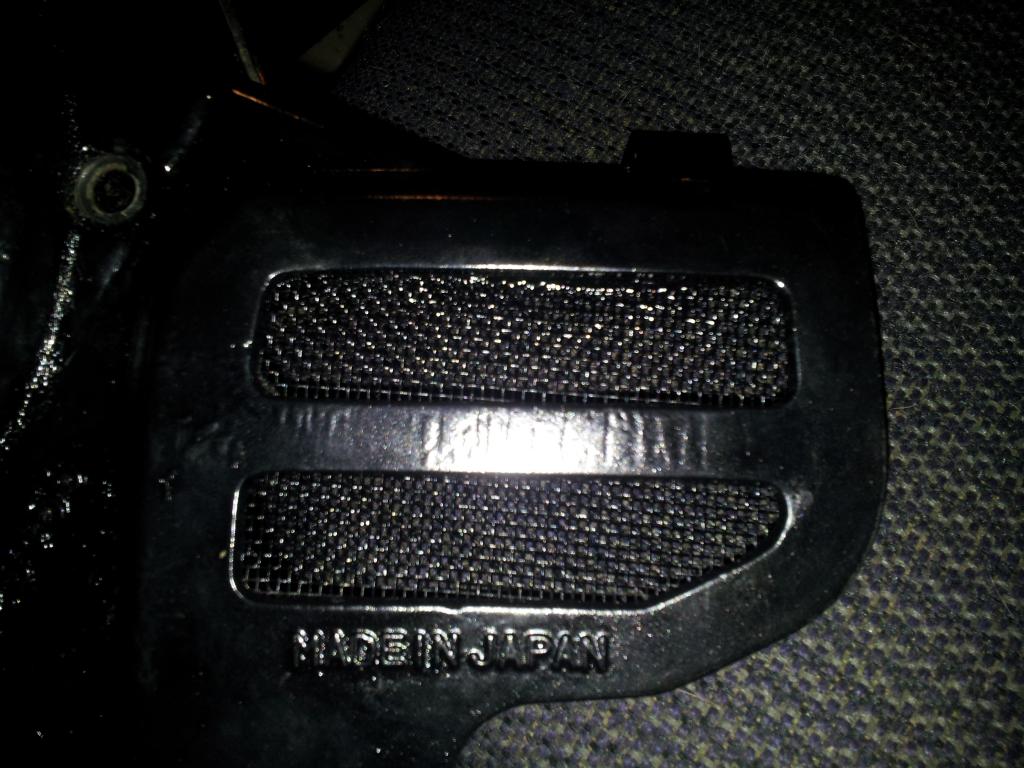
complete screen thing
i dont have pictures of this but i cut the circle for the glass lens with a stencil of a circle object slightly smaller than the lense to ave an edge to bite on with
{ please dont do this it was not as good an idea i thought but i was persistant to make it work lol}
a pen soldering gun or well rod thing filed the tip down to a square shark fin like a knife edge and plugged it in and followed my outline .. badd bad process any way
and i put a thin coat of gasket maker around the seal being sure to wipe off the edges that will be seen
and with a toothpick and my finger i sealed the outside{inside of cover} of the lens to ensure watertightness.
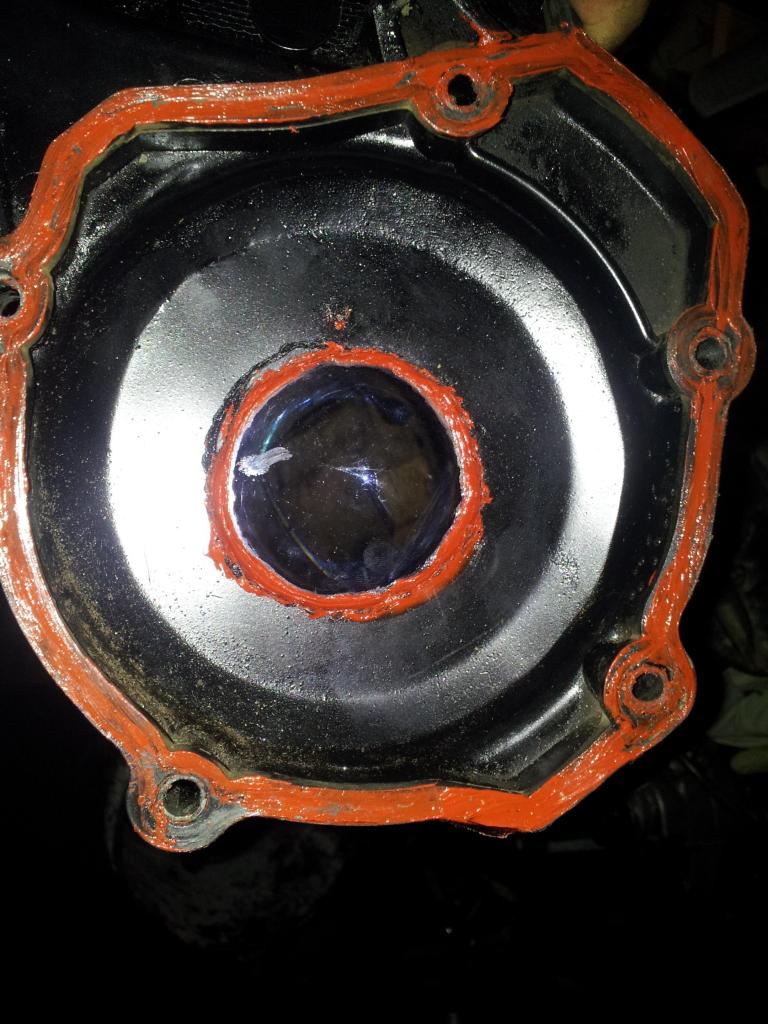
and i knew this would be a problem for the window to seem edgeless in appearance { or hiding the sealer and ugly cut job i found a template just a bit smaller than the actual hole itself not the glass lens
i actually made my edge{ with spray paint}{i know im cheap and wanted to see if i could do it} than using cutips and acetone cleaned up the visible smear of silicone you could see after applying it with a toothpick and wiing with my finger and cutips to get in all the cracks and edges where the glass and plastic meet.
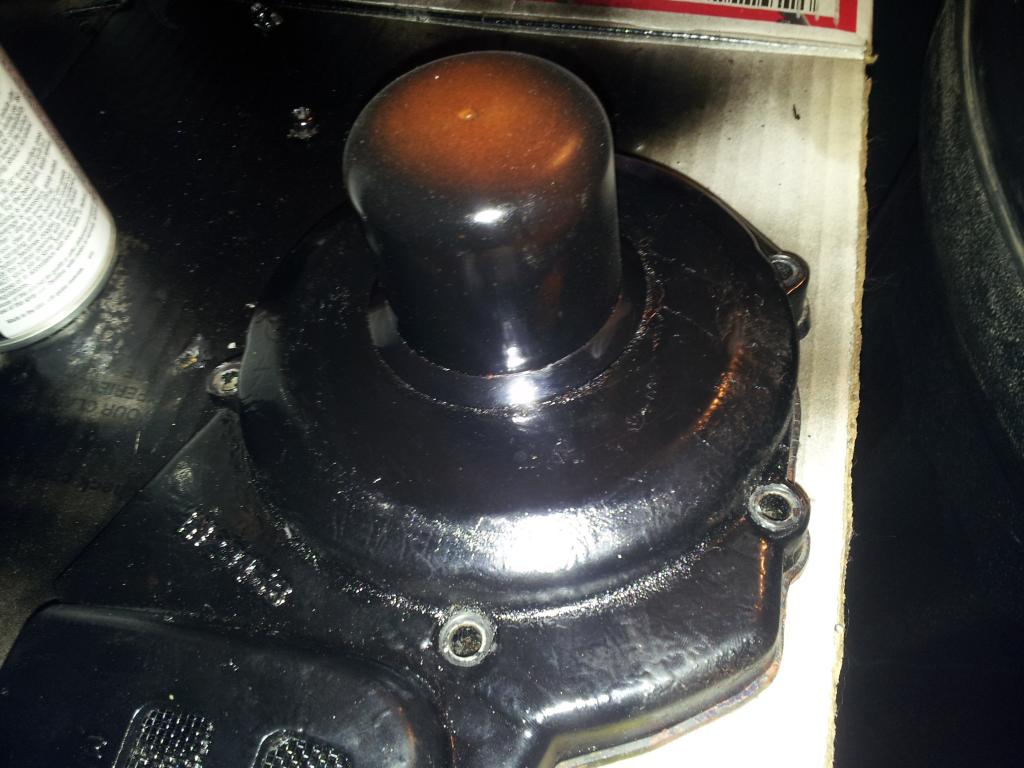
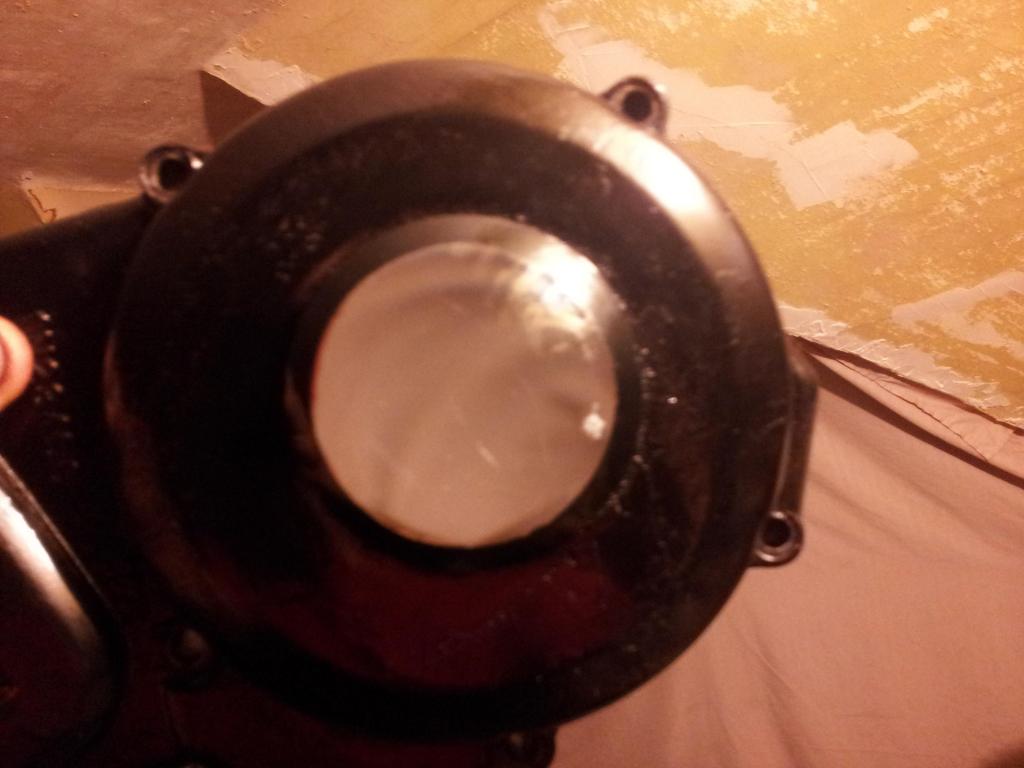
its dirty cause of my hands but its hard to take a picture of this lens lol
im just holding it up but its not very large window but whatever
yes this is a magnifying glass type lens but came out of a toshiba blasma tv i have oddly shaped ones too that do weird things they dont just magnify but this lens will not {burn ants and does not concentrate light} i will not welt my flywheel
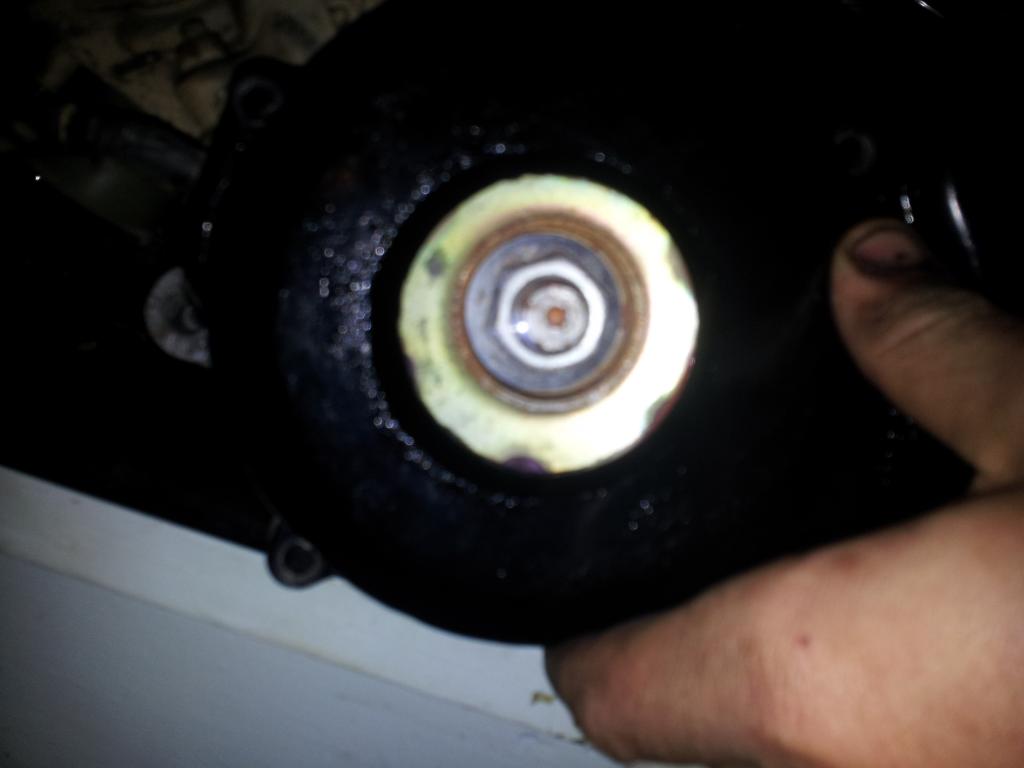
next problem was to fix my missing u shaped seal by the shift cam so you know the neck of the oem carby boot i cut the extension off used a razor knife shaped it used a file to file a groove more towards one side so the edge of the case will sit in that depression (not sticking out like a rubber block as much cuse the offset groove) and look kinda like the one for the stator wires
i screwed a wood screw in the center for my breathing tube {idk why a flywheelwould need to breathe but a spinning object gives off wind so im gonna put in atleast one vent/breather}
yes i know i think i have it upside down more sticking out than in
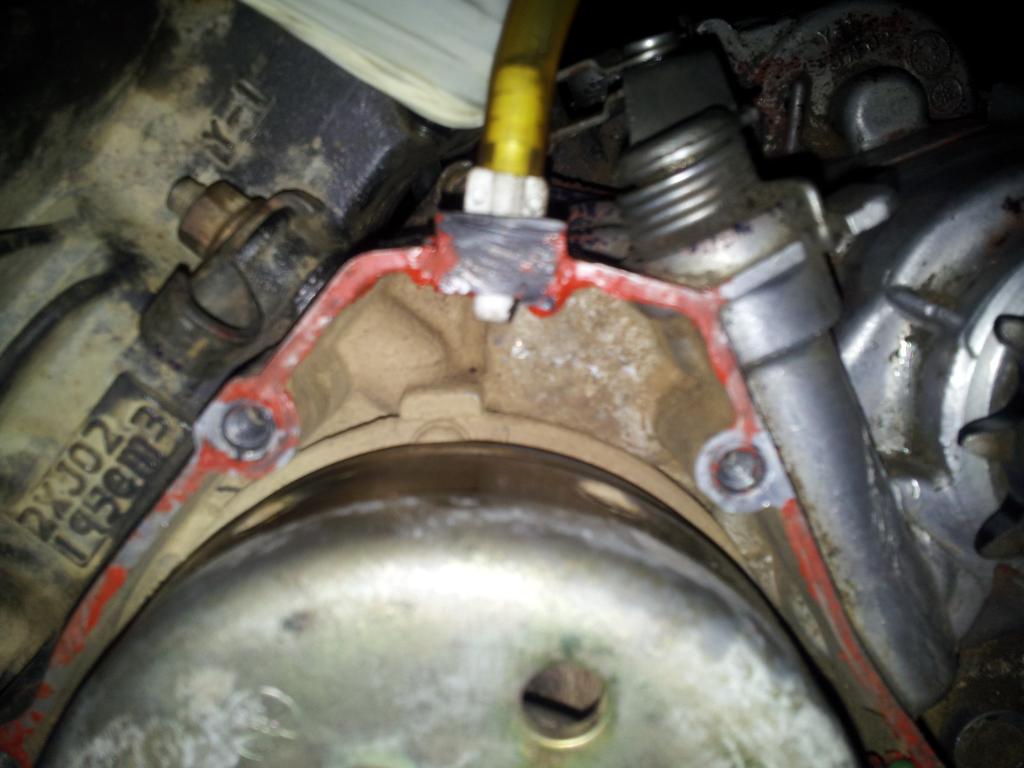
i hade vac hose fittings so after i put the hole in i inserted i think 1/8th to 1/4 plastic vac hose coupler small end in the rubber no silicone needed that rubber is very tight.. thin layer of rtv to aid in sealing and stuck it in
and a thin coat of rtv to the case which i knew would peel off but whatever <---{again} just temporary
and this one a flat top phillips screw a really fat oring a 2-4 mm piece of gas line tubing put that on the screw put the oring on smear some more rtv { man i love this stuff lol} found a flat piece of hard rubber used that as a bolt and voila i now have a plugged hole with nothing sticking out of the case ... well an oddly placed screw but eh whatever
/
\
/
\
/
\
/
\
\/
\/
\
\
\
\/ { purple for your viewing pleasure of the small windowed flywheel cover that cost less than 1$
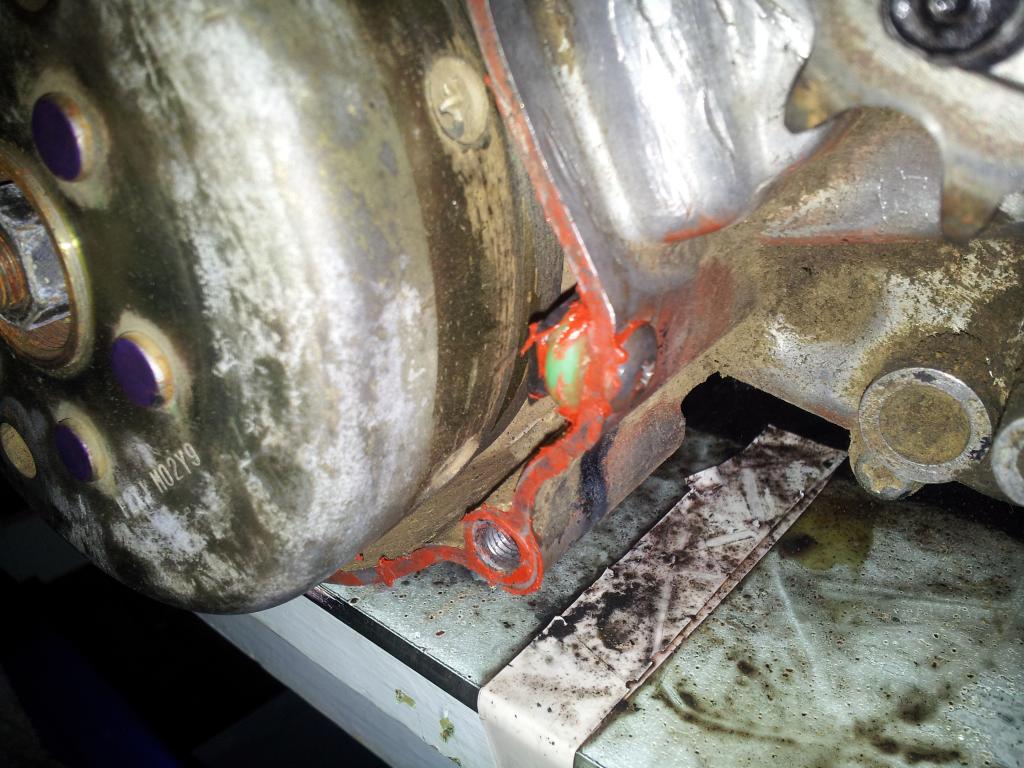
and here i filled up the sleeve that was left on that rubber grommet wrap in tape let cure peel tape off and you have sealed you wires also i added some rtv on the inside as well this is where i think it wont hold when i run the wires back to where my harness comes out at maybe a spring or a rubber sleeve to stop it from bending
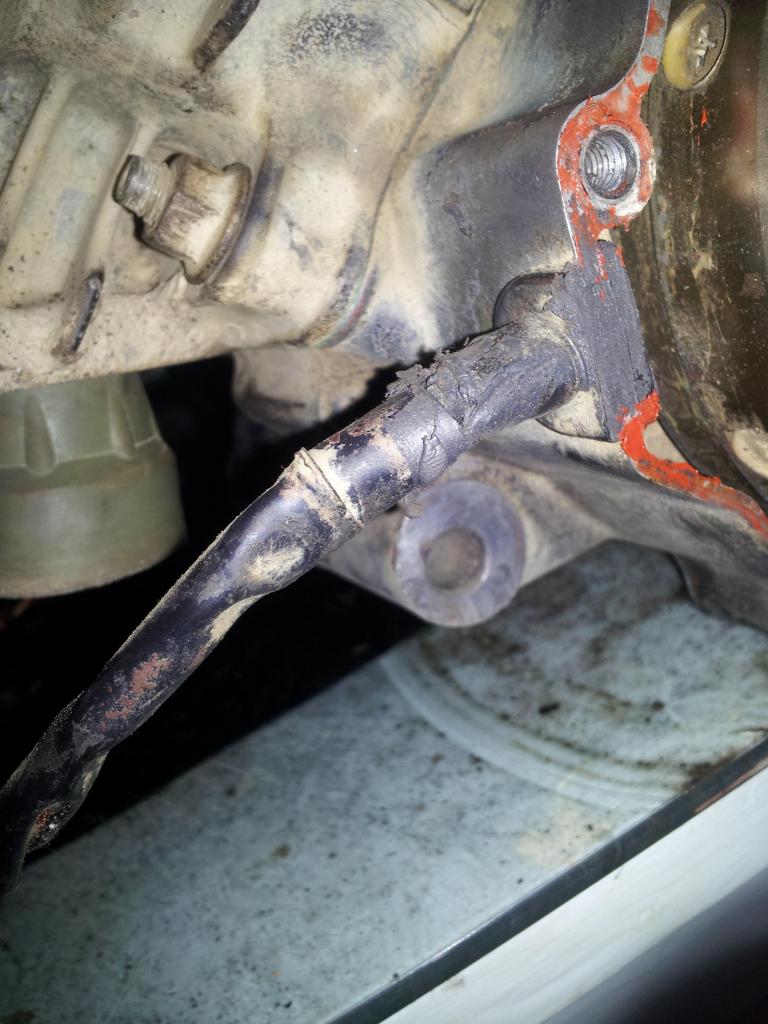
there you have it
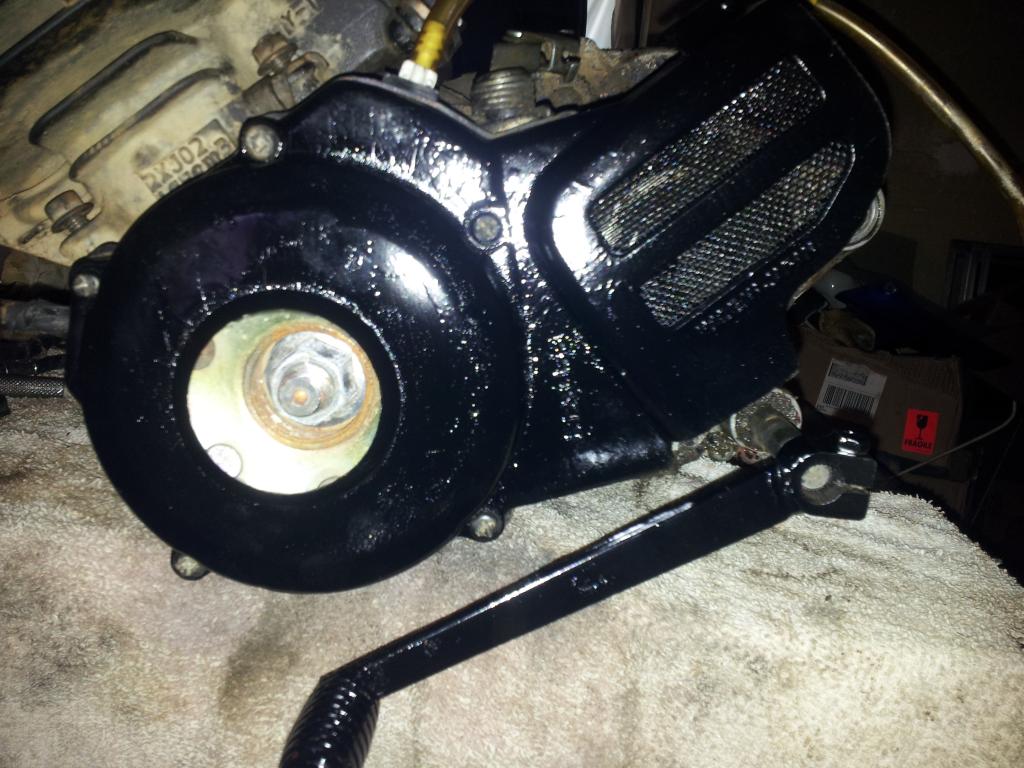
final product
ok so i got bored and decided i didnt like the fact my covor was missing a rubber plug .... actually 2 of them a little one behind the front sprocket any way i decided to waterproof it as well { 100%] leak test approved lol but seriously i did it and sorry for all the damn silicon rtv stuff it looks worse than it is when the case is on you cant see any really so its ok and works well very well.
this is a before .. well kinda notice the hole and the screen is not there over the sprocket end

i used super glue and yes i know a penny and a strip of aluminum foil heavy duty and it was to just be able to keep pressure without gluing my finger on then i got it tacked down with super glue around the edges then let it dry added some black rtv also around the edges kinda thick and let it dry { no pressure needed the super glue had it secure enough.

complete screen thing

i dont have pictures of this but i cut the circle for the glass lens with a stencil of a circle object slightly smaller than the lense to ave an edge to bite on with
{ please dont do this it was not as good an idea i thought but i was persistant to make it work lol}
a pen soldering gun or well rod thing filed the tip down to a square shark fin like a knife edge and plugged it in and followed my outline .. badd bad process any way
and i put a thin coat of gasket maker around the seal being sure to wipe off the edges that will be seen
and with a toothpick and my finger i sealed the outside{inside of cover} of the lens to ensure watertightness.

and i knew this would be a problem for the window to seem edgeless in appearance { or hiding the sealer and ugly cut job i found a template just a bit smaller than the actual hole itself not the glass lens
i actually made my edge{ with spray paint}{i know im cheap and wanted to see if i could do it} than using cutips and acetone cleaned up the visible smear of silicone you could see after applying it with a toothpick and wiing with my finger and cutips to get in all the cracks and edges where the glass and plastic meet.


its dirty cause of my hands but its hard to take a picture of this lens lol
im just holding it up but its not very large window but whatever
yes this is a magnifying glass type lens but came out of a toshiba blasma tv i have oddly shaped ones too that do weird things they dont just magnify but this lens will not {burn ants and does not concentrate light} i will not welt my flywheel

next problem was to fix my missing u shaped seal by the shift cam so you know the neck of the oem carby boot i cut the extension off used a razor knife shaped it used a file to file a groove more towards one side so the edge of the case will sit in that depression (not sticking out like a rubber block as much cuse the offset groove) and look kinda like the one for the stator wires
i screwed a wood screw in the center for my breathing tube {idk why a flywheelwould need to breathe but a spinning object gives off wind so im gonna put in atleast one vent/breather}
yes i know i think i have it upside down more sticking out than in

i hade vac hose fittings so after i put the hole in i inserted i think 1/8th to 1/4 plastic vac hose coupler small end in the rubber no silicone needed that rubber is very tight.. thin layer of rtv to aid in sealing and stuck it in
and a thin coat of rtv to the case which i knew would peel off but whatever <---{again} just temporary
and this one a flat top phillips screw a really fat oring a 2-4 mm piece of gas line tubing put that on the screw put the oring on smear some more rtv { man i love this stuff lol} found a flat piece of hard rubber used that as a bolt and voila i now have a plugged hole with nothing sticking out of the case ... well an oddly placed screw but eh whatever
/
\
/
\
/
\
/
\
\/
\/
\
\
\
\/ { purple for your viewing pleasure of the small windowed flywheel cover that cost less than 1$

and here i filled up the sleeve that was left on that rubber grommet wrap in tape let cure peel tape off and you have sealed you wires also i added some rtv on the inside as well this is where i think it wont hold when i run the wires back to where my harness comes out at maybe a spring or a rubber sleeve to stop it from bending

there you have it

final product

